How to Back Up a QNAP NAS to an External Drive
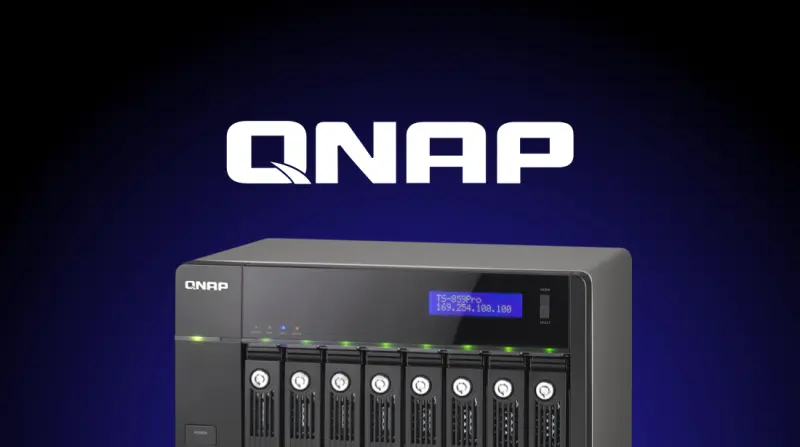
This guide shows how to copy selected QNAP shared folders to a USB external drive with HBS 3. It is a practical local backup for fast recovery and avoids recurring cloud-storage fees.
Important: the procedure uses a one-way sync job. A mirror can copy deletions or ransomware-encrypted files to the destination. For stronger protection, use version management where available, rotate two external drives, disconnect the current backup drive after a successful job, and keep another copy off-site.
When an external drive is a good QNAP backup target
- You want fast local restores without download fees.
- Your backup fits on one or more USB drives.
- You can disconnect or rotate the drives after each backup.
- You also maintain an off-site copy for fire, theft, or site-wide failure.
* To know more about Backup your NAS to AWS S3, check out this guide
Setting Up your Backup:
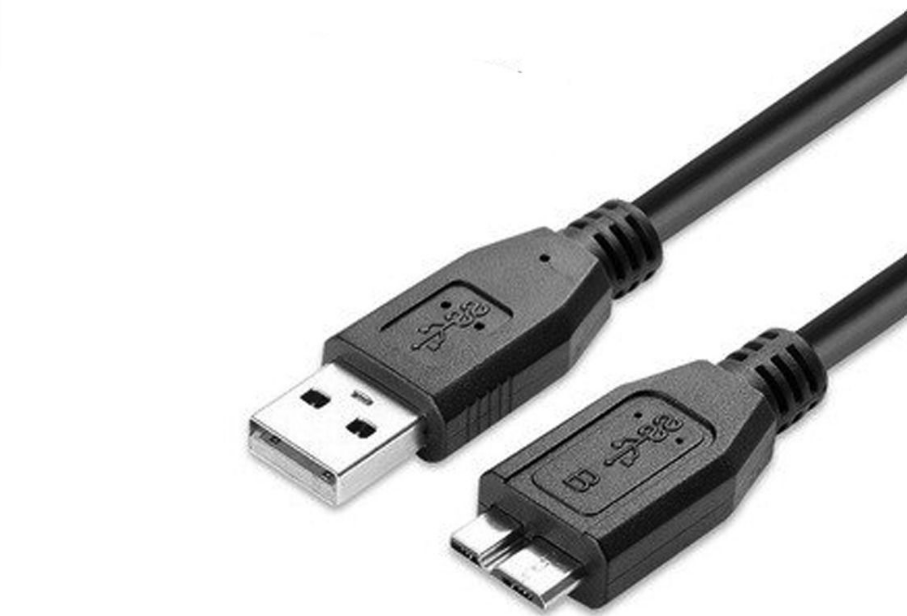
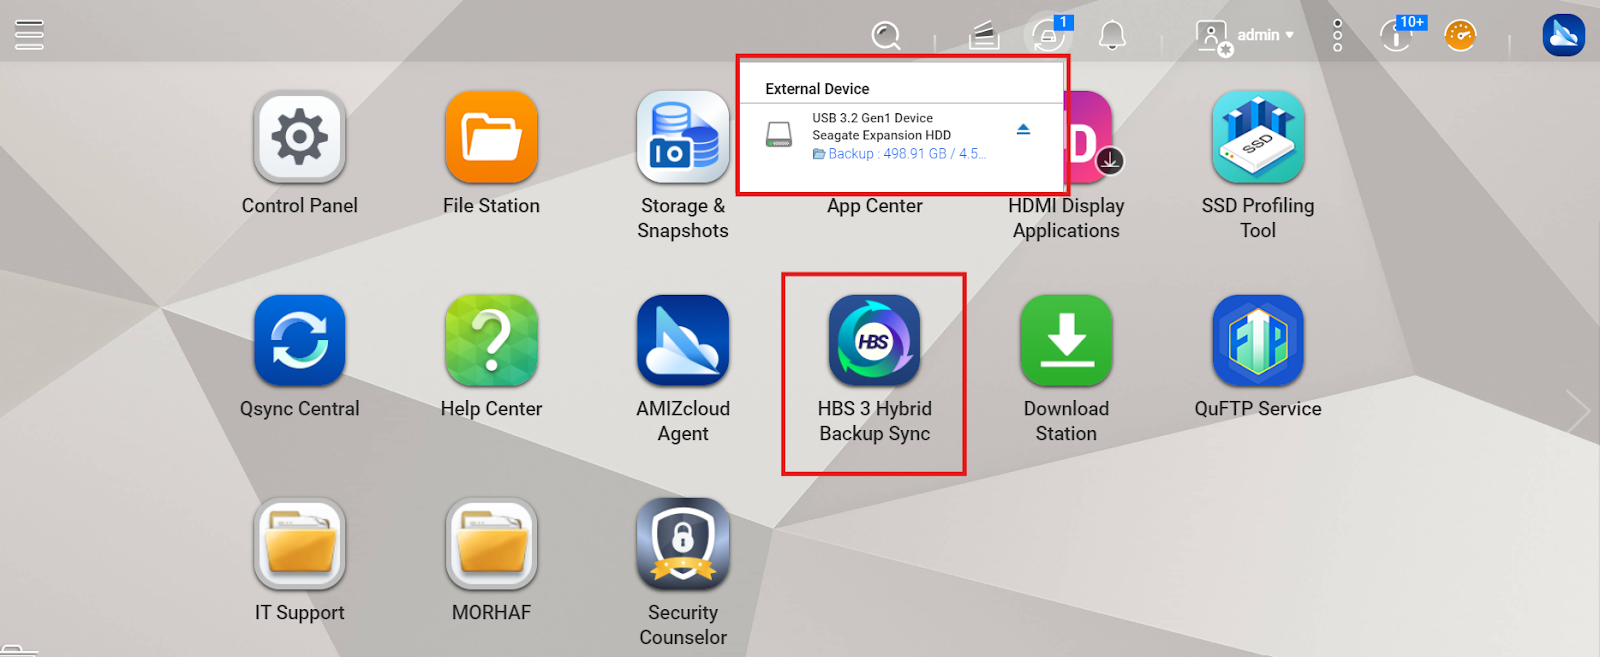
Step 1: Connect your external hard drive to your QNAP through USB.
You can connect your hard drive through USB Cable, which would look like this:
Step 2: Login to your QNAP NAS.
Head to your browser and open QNAP web management, Enter your QNAP IP, it would look like this 192.168.1.1:8080 and enter your admin credentials to login.
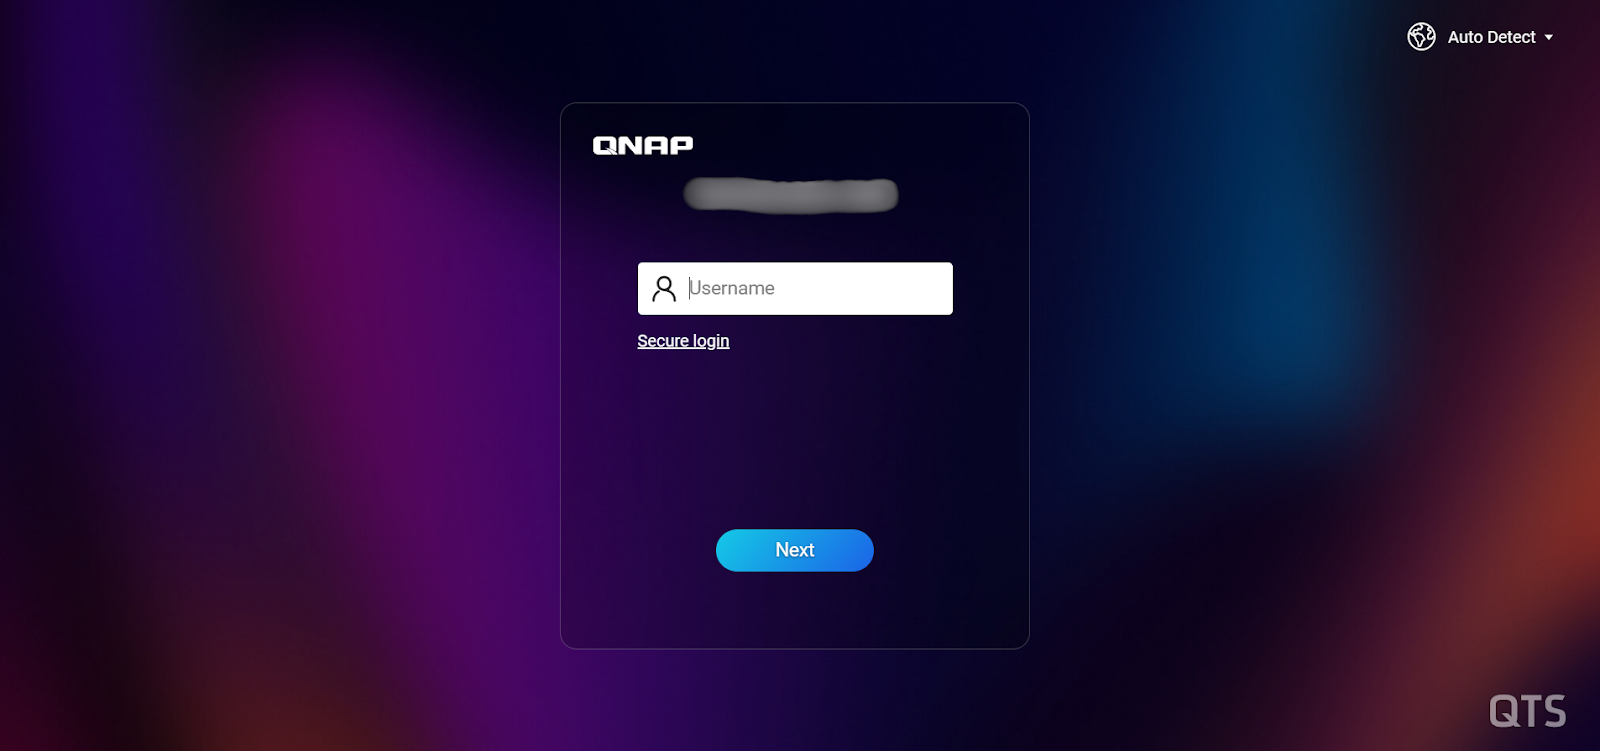
Step 3 : Configure the HBS 3 one-way sync job
open HBS 3 Hybrid Backup Sync:
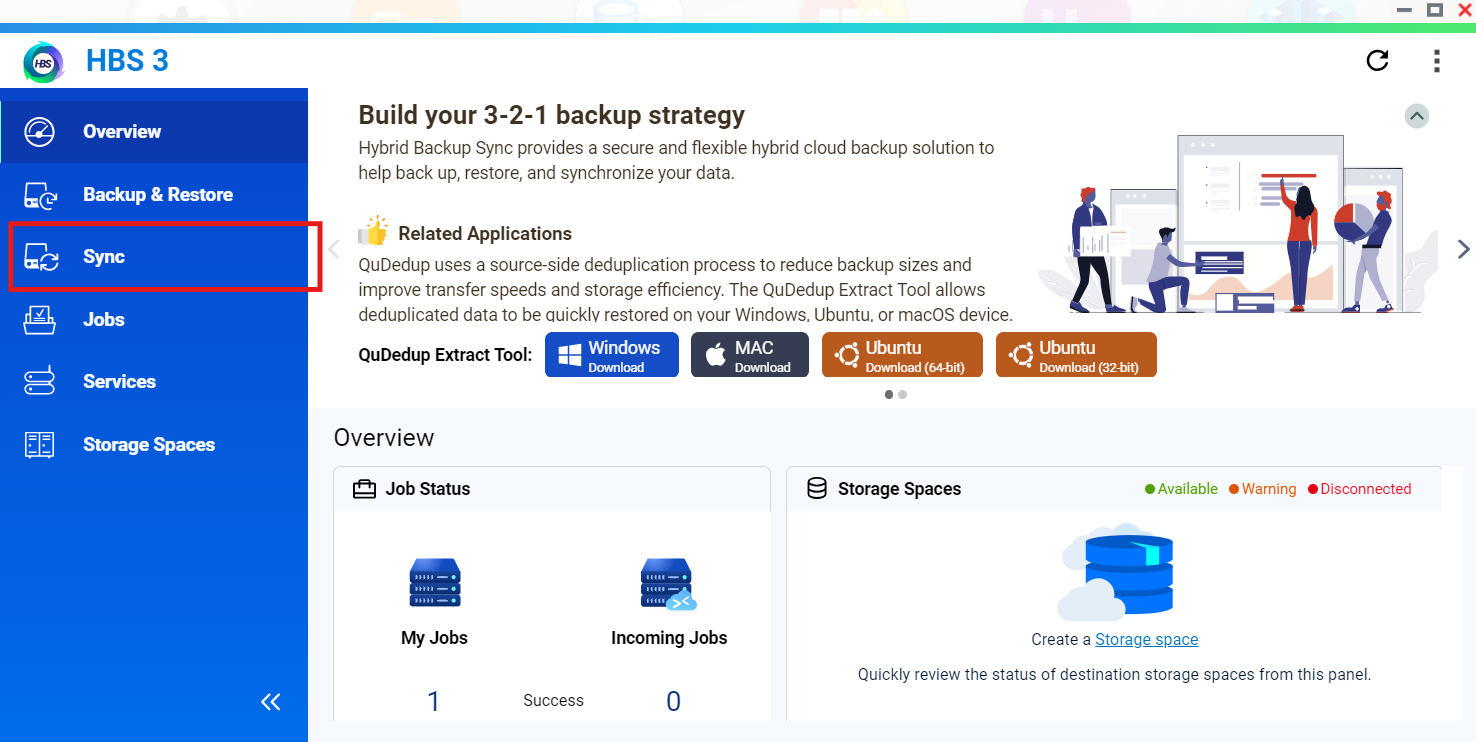
Head to Sync Section:
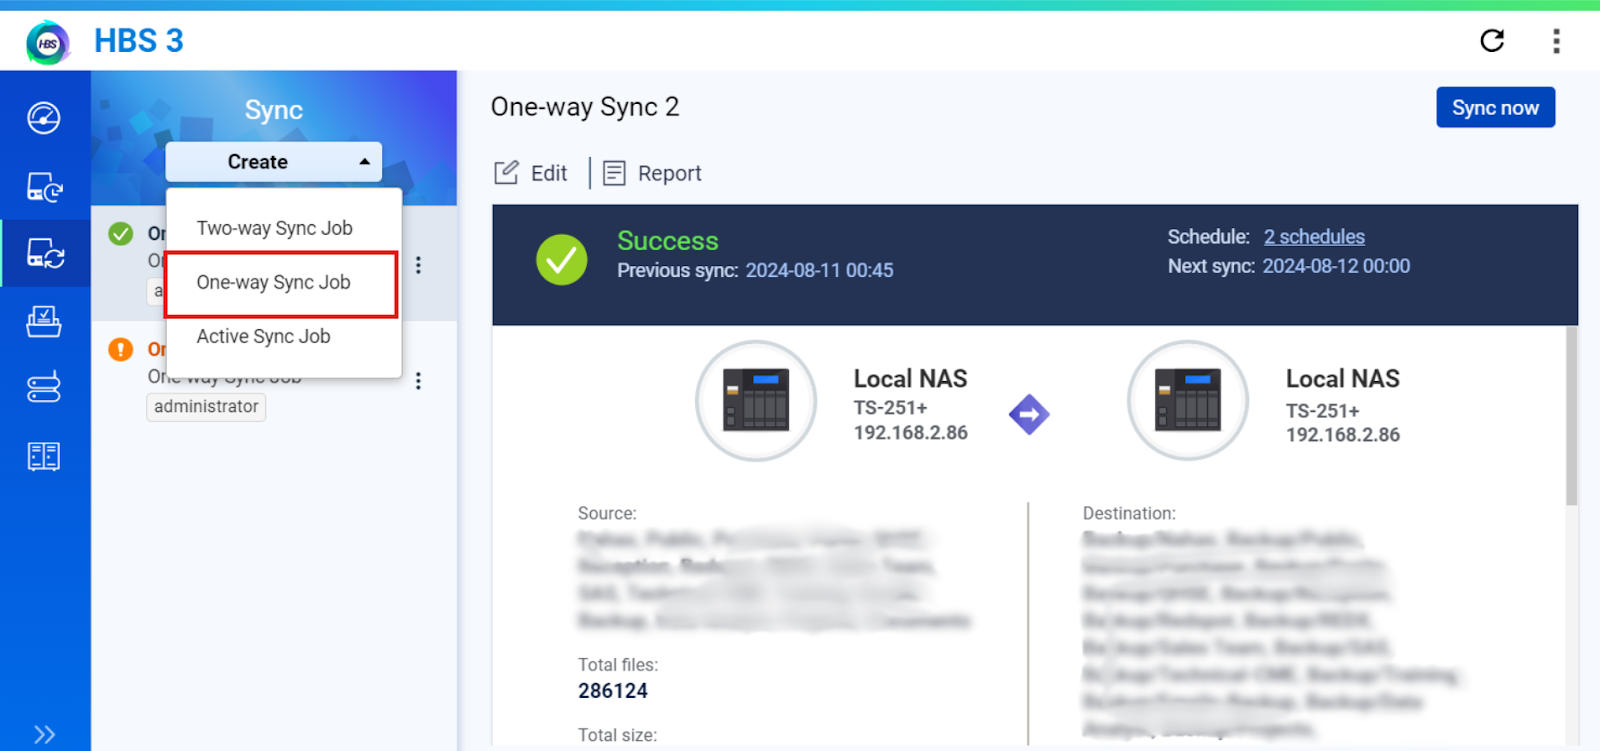
Then choose “Create”, there are three types of Sync Jobs, in this article we are going to Choose “ One-Way Sync Job”:
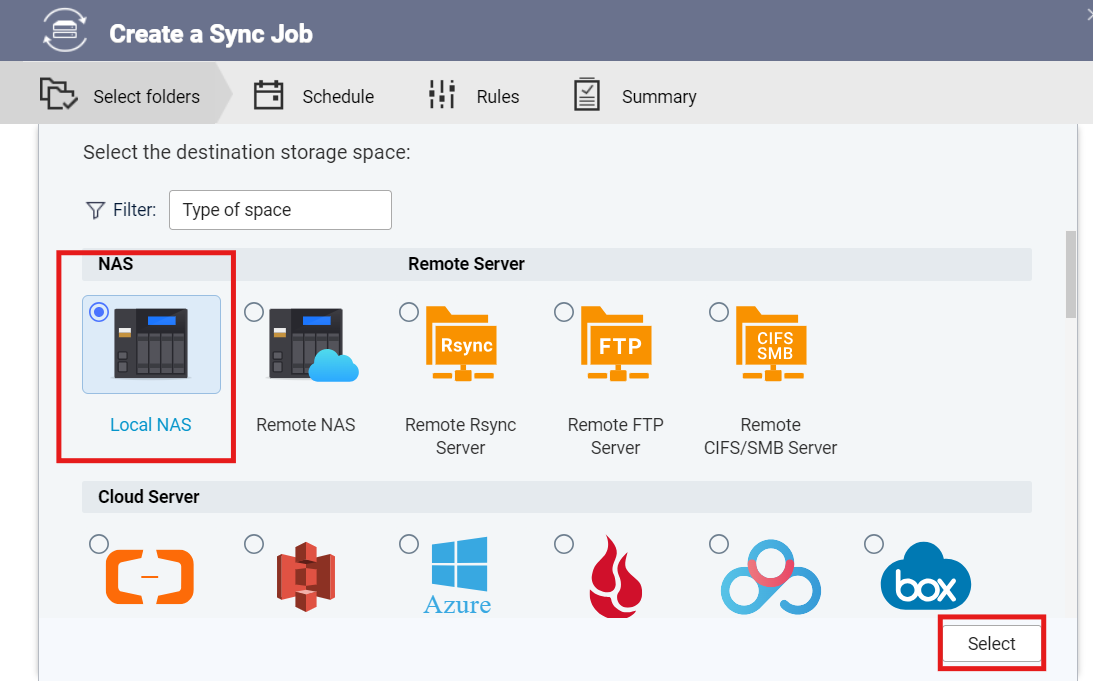
On Create Sync Job Dialog, We have several options for the Sync Jobs.
Here you can specify where you need to Backup your data, is it the local NAS or some other remote NAS
you have, also we have Remote servers like Rsync server, FTP Server, SMB Server.
You may need to Sync your Data to the Cloud, like Alibaba Cloud, AWS S3, Azure and a lot more, check HBS Storage Spaces for more information
In this Article, We are going to Sync our Data to our Local NAS, Because we have connected our External Hard Drive to the Very same NAS.
Choose “ Local NAS” Then Press “Select”
Next, Name your Sync Job and Check the button “Map External Volume” then select “Destination” from the Drop-Down Menu and also select your External Hard Drive from the second Drop-Down Menu.
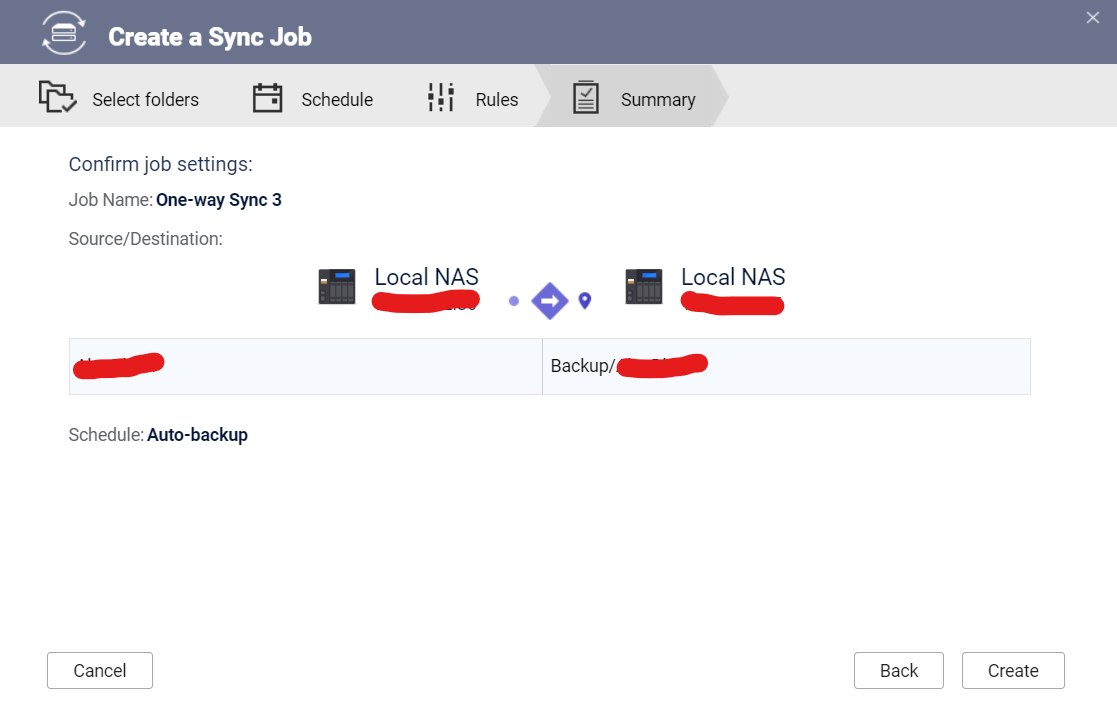
In this Example, My Sync Job Name is “ One-way Sync 3” and My External Hard Drive name is “ backup”.
You can see Below you can choose your Shared Folders Individually to Pair it with Folders inside your External Hard Drive.
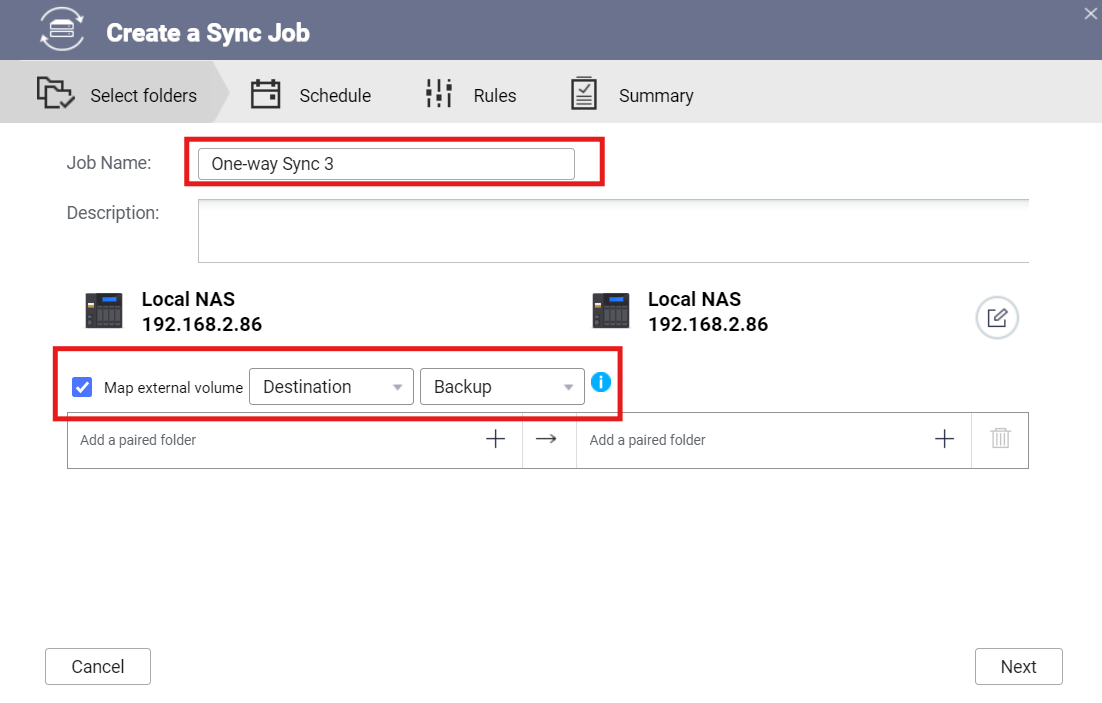
*Note: QNAP Sync allows up to 16 Shared Folder Synced per Job, if you have more, consider creating another Job.
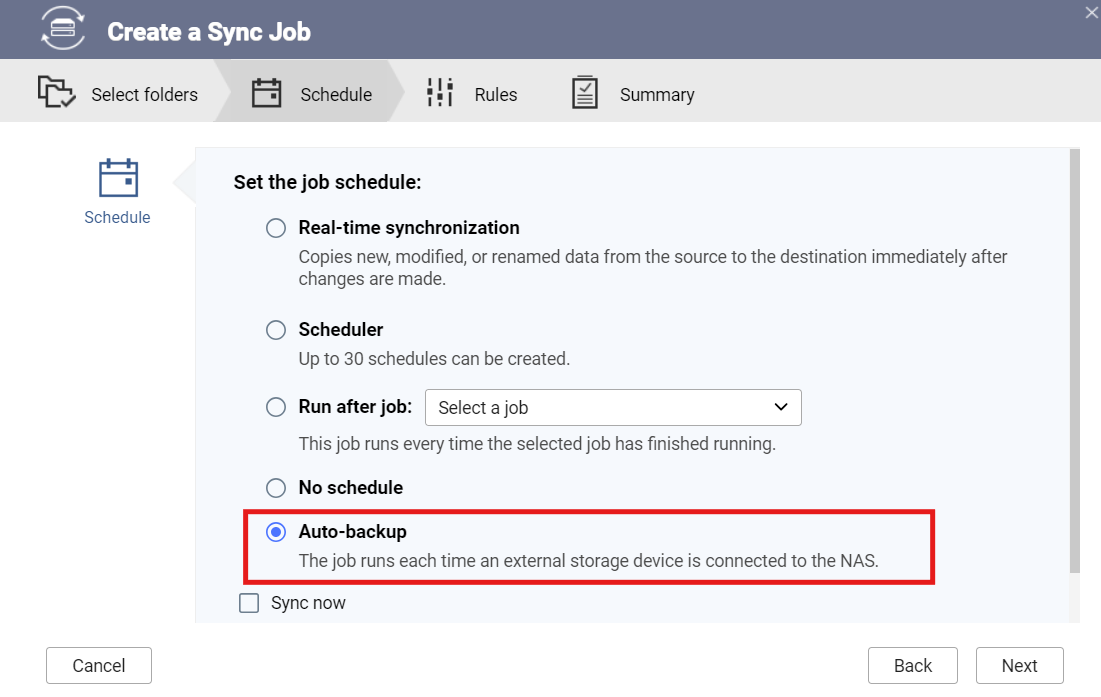
Next, We need to schedule the Job.
We have several options, choose what fits your requirements best.
In this example, I will go for “Auto-backup”, but you can keep your External Hard Drive connected and schedule your Sync Job.
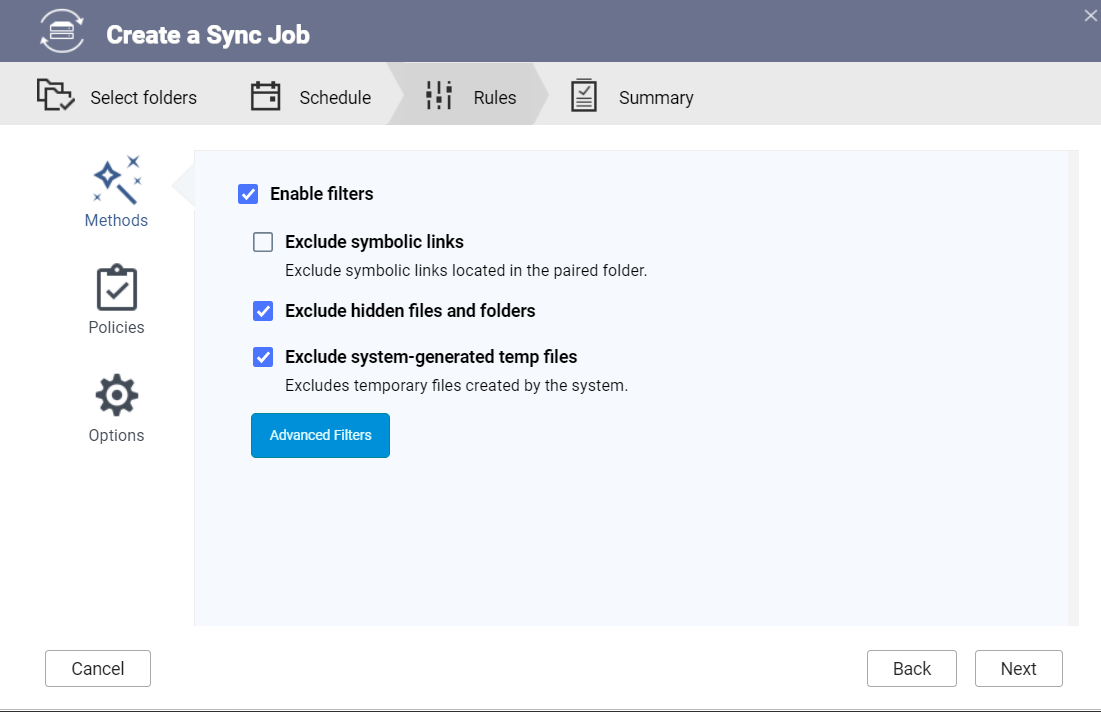
Next, in the policies section, I will keep everything as default.
For more information about Sync policies check out HBS Documentation
Step 4: Review and finalise.
After that, here is the Summary of the Sync Job:
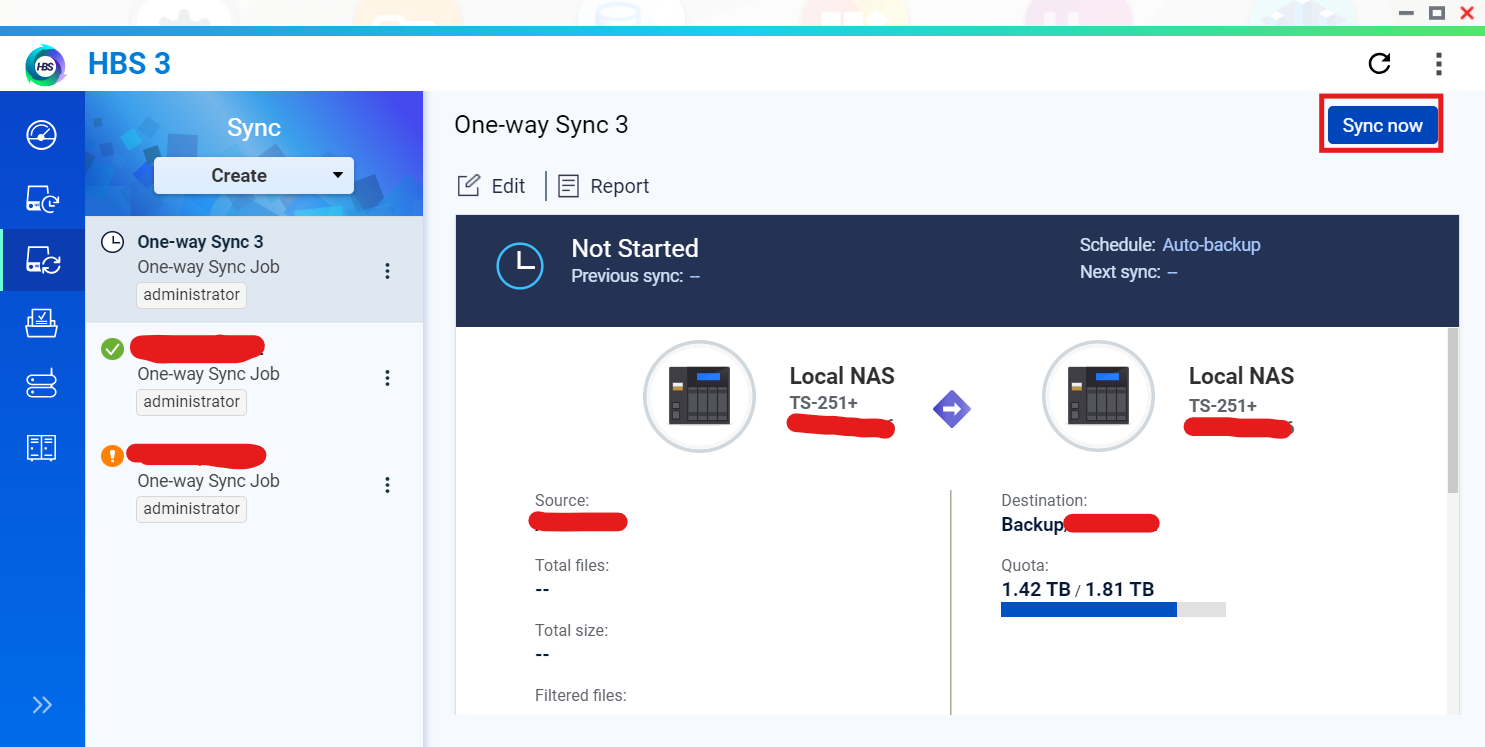
Finally, here is the new Sync Job we created, you can “Sync Now” or wait for the schedule if you scheduled it:
Run the job once, review the HBS 3 logs, and restore a small test folder to a different location. A successful job notification proves that files were copied; a test restore proves that the copy is usable.
After verification, safely eject and disconnect the drive. For a basic rotation, label two drives A and B, alternate them, and keep the disconnected drive away from the NAS. For an off-site destination, see the QNAP to Amazon S3 guide.
External-drive backup checklist
- The job completed without errors.
- A test file was restored successfully.
- The drive has enough free space for the next runs.
- Notifications are enabled for failures.
- The drive is disconnected or rotated after verification.
- A second copy exists off-site.
Verify the backup and test a restore
In this Article, We have configured Backup Job to an External Hard Drive, by following these steps, you can efficiently set up and manage your backup job, whether you prefer an automatic schedule or manual synchronisation, as a practical solution and a cost-effective alternative to the Cloud backup, particularly for small businesses or personal use