How to Backup Your Synology NAS to AWS S3 Using Hyper Backup?
Introduction:
Your synology NAS Backup is a great way to ensure your data is secure and safe on an offsite location (AWS Cloud).
With all the features that are provided by AWS S3 storage, starting from durability and scalability, makes it one of the best solutions out there for your data backup.
That’s why it’s important to set up an automated backup to the cloud, saving you a lot of management and backup tracking overhead.
Why would you want to use AWS S3 as a Backup?
AWS S3 offers a scalable and durable storage, making it perfect for data backup, whether the data will be accessed frequently, or less frequently. It offers several storage tiers depending on your requirements.
Setting Up Backup For Synology NAS:
Step – 1 – Create an S3 Bucket for Backup:
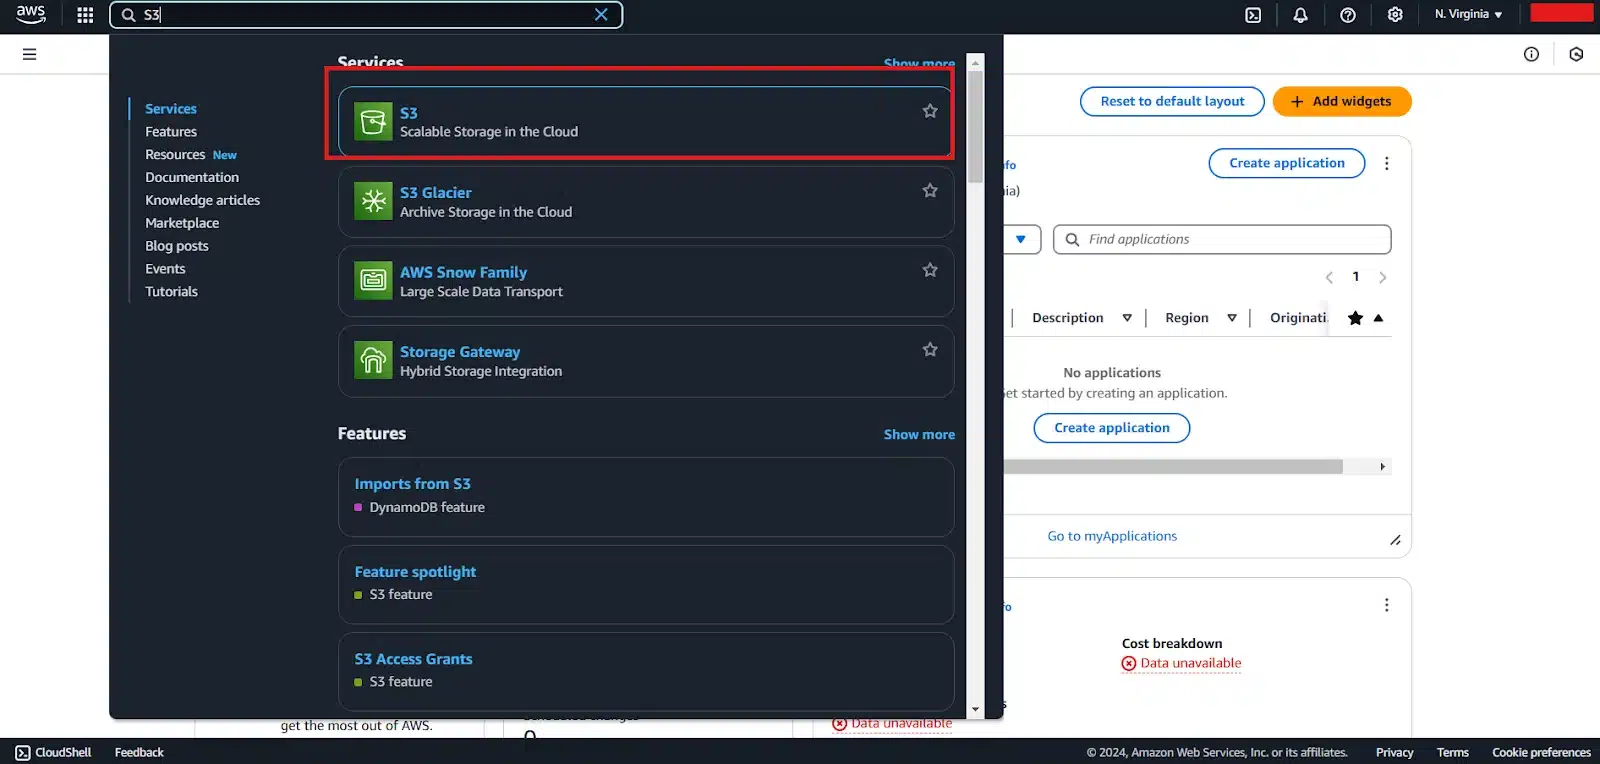
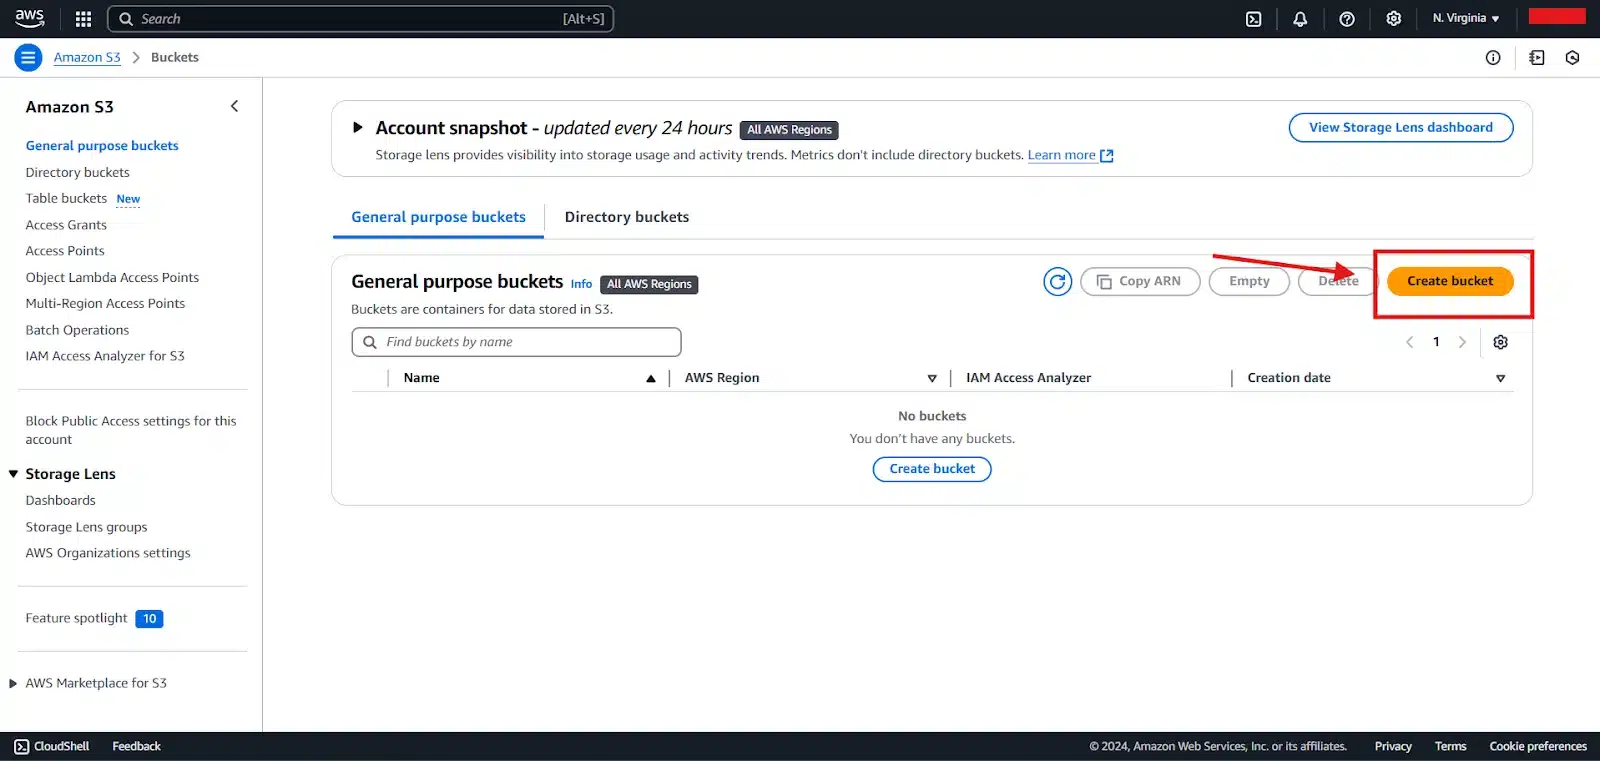
On your AWS management console, search for S3 Service:
Click on “Create Bucket”:
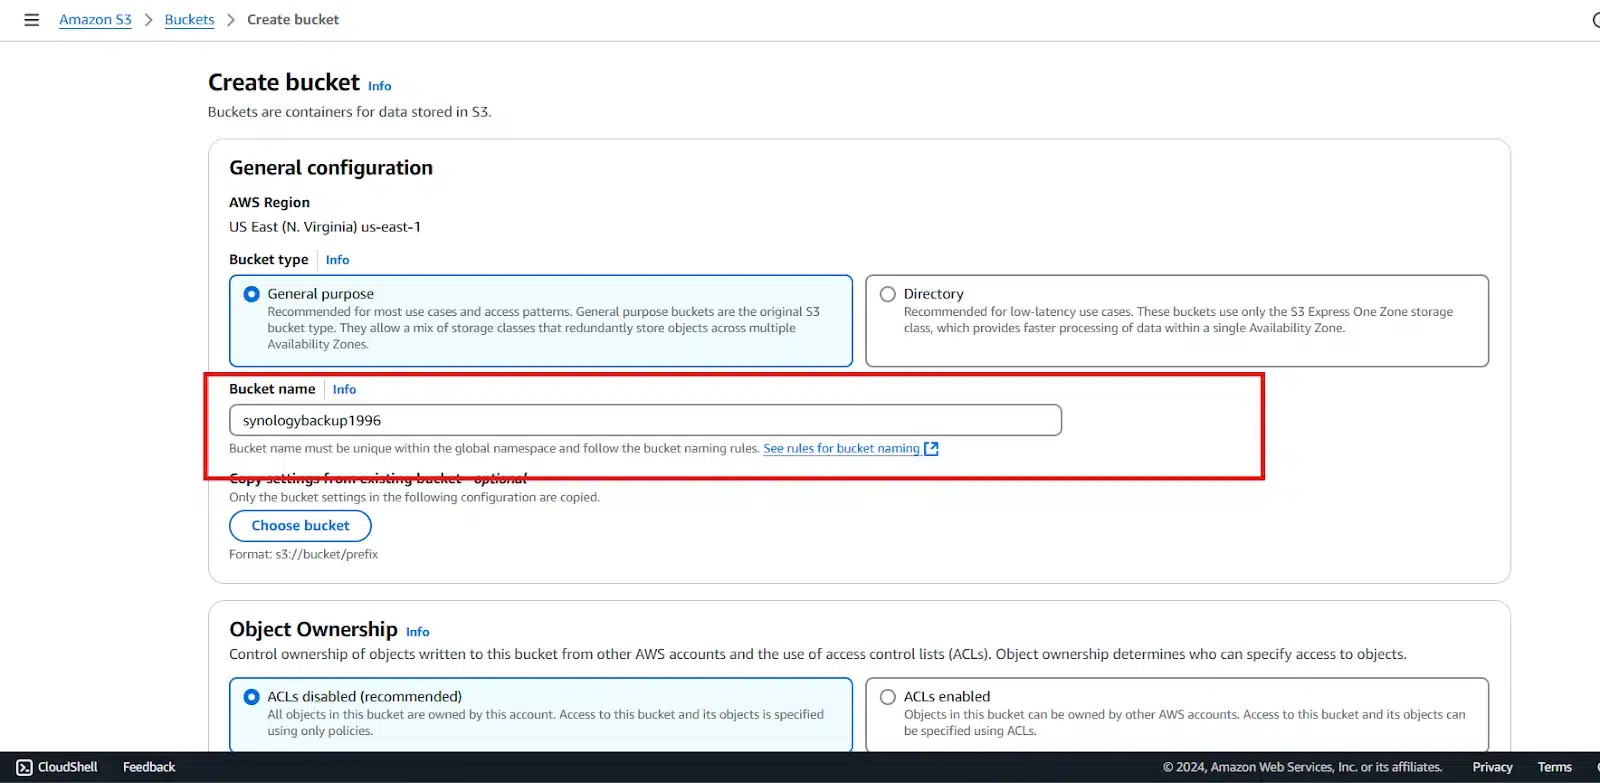
Then, Give your Bucket a name, the Bucket Name Should be Globally Unique:
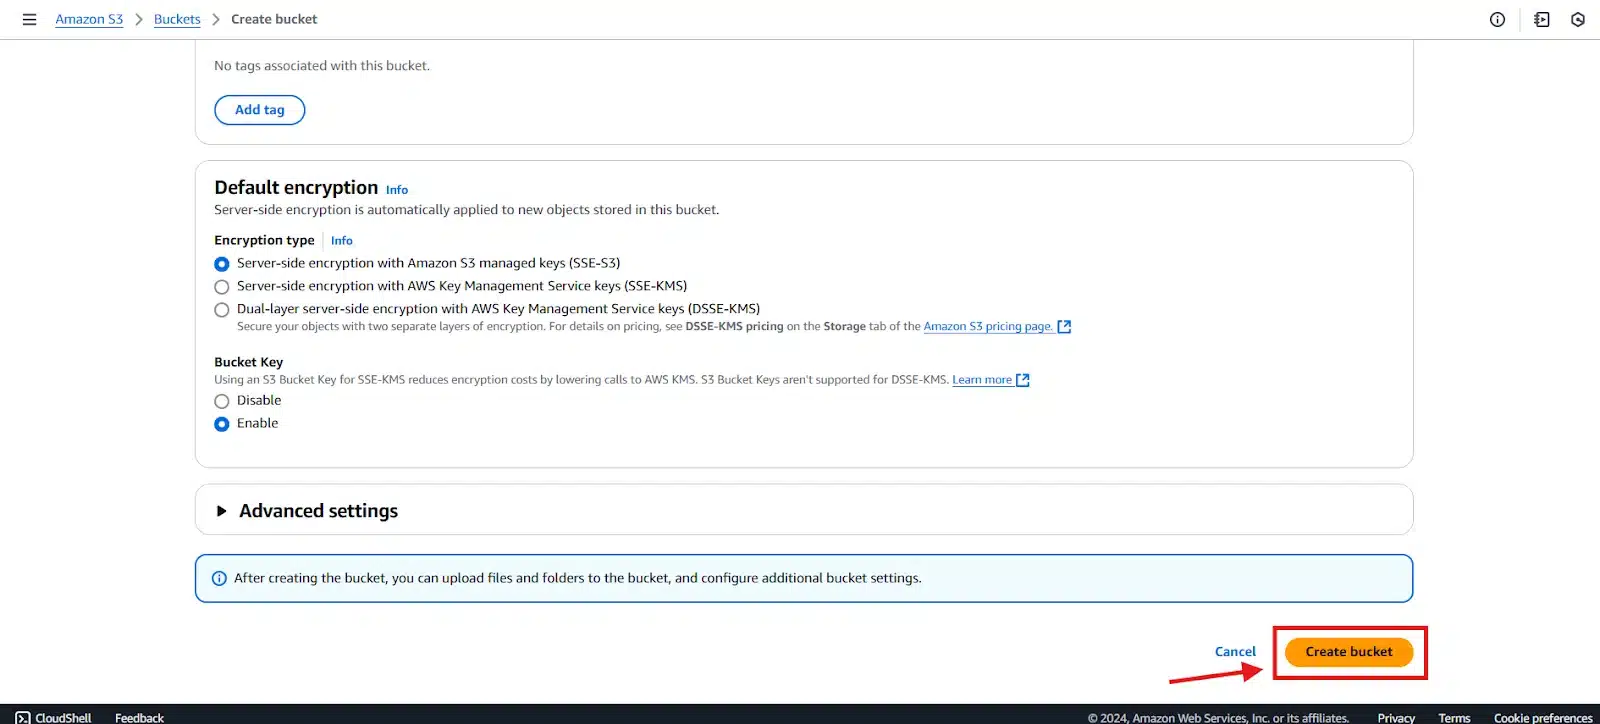
Leave the default configurations, then scroll down and click “Create Bucket”:
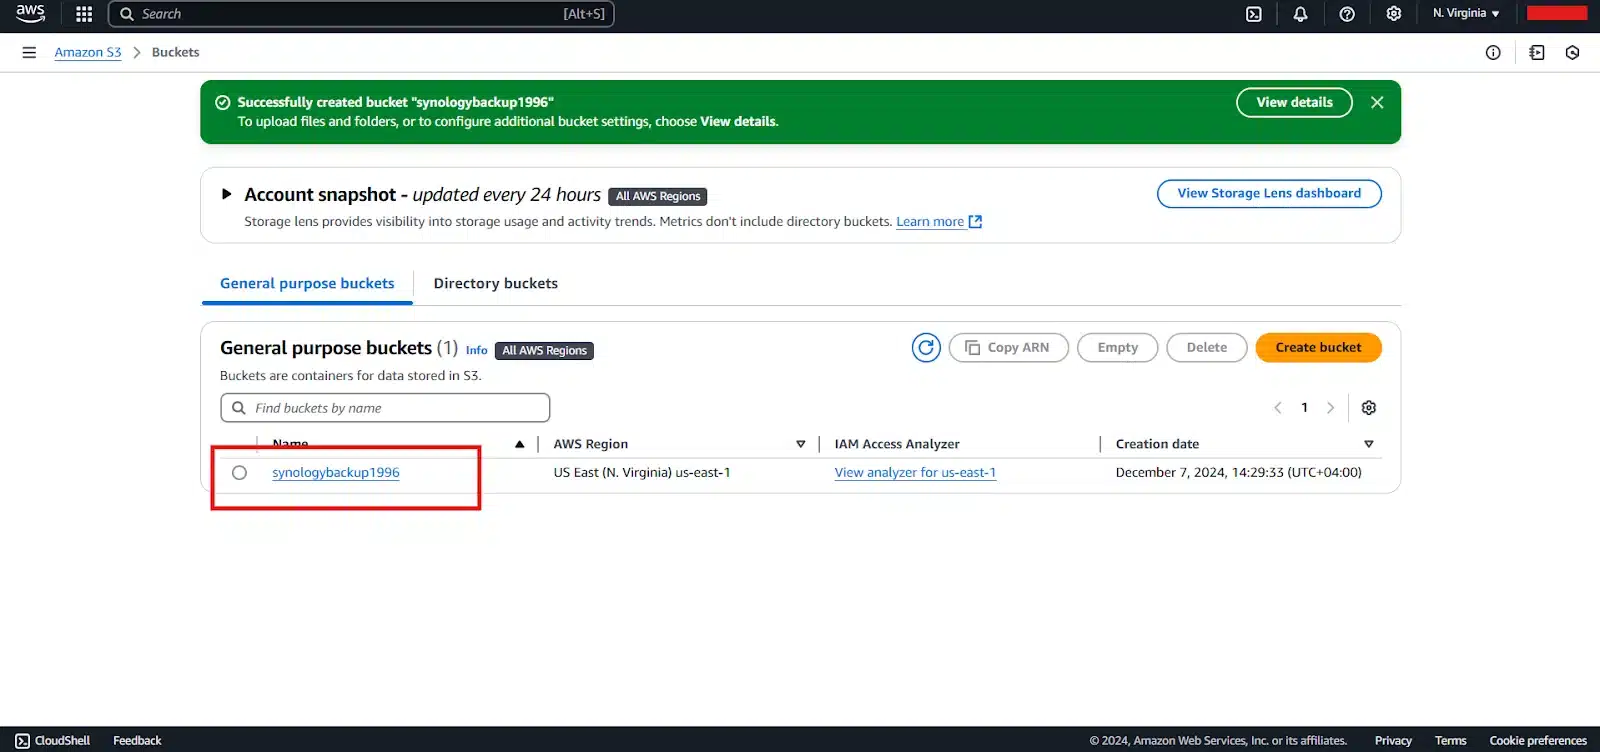
Now your Bucket will show up in your Bucket List:
Step – 2 – Create an IAM User:
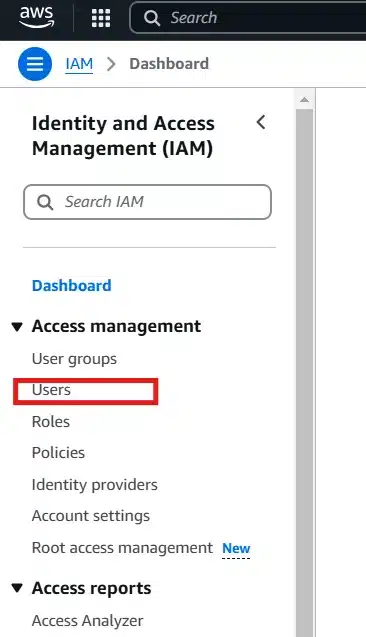
Head to IAM Console:

Choose Users Menu from the left side:
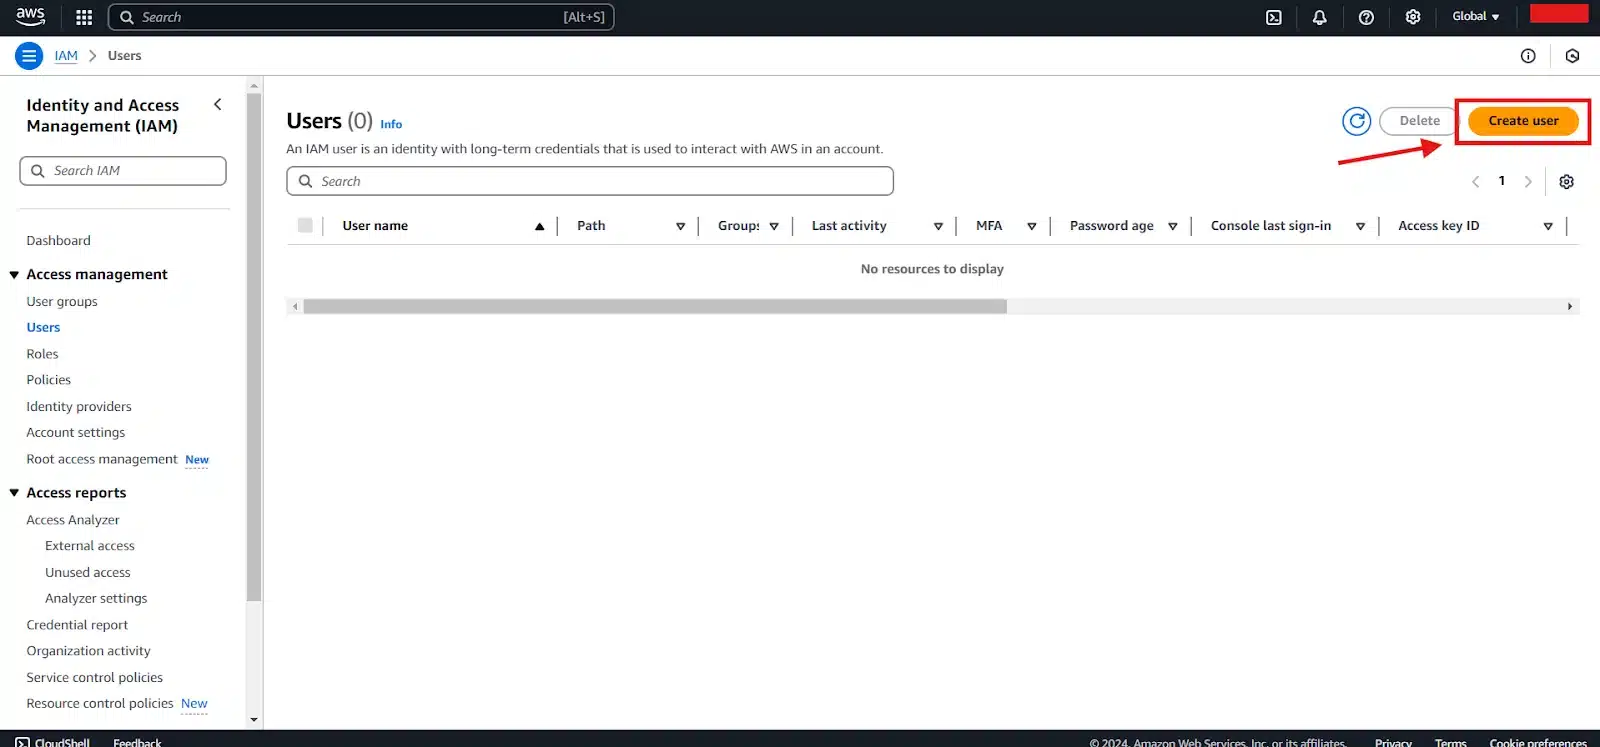
Next, Click on “Create User”:
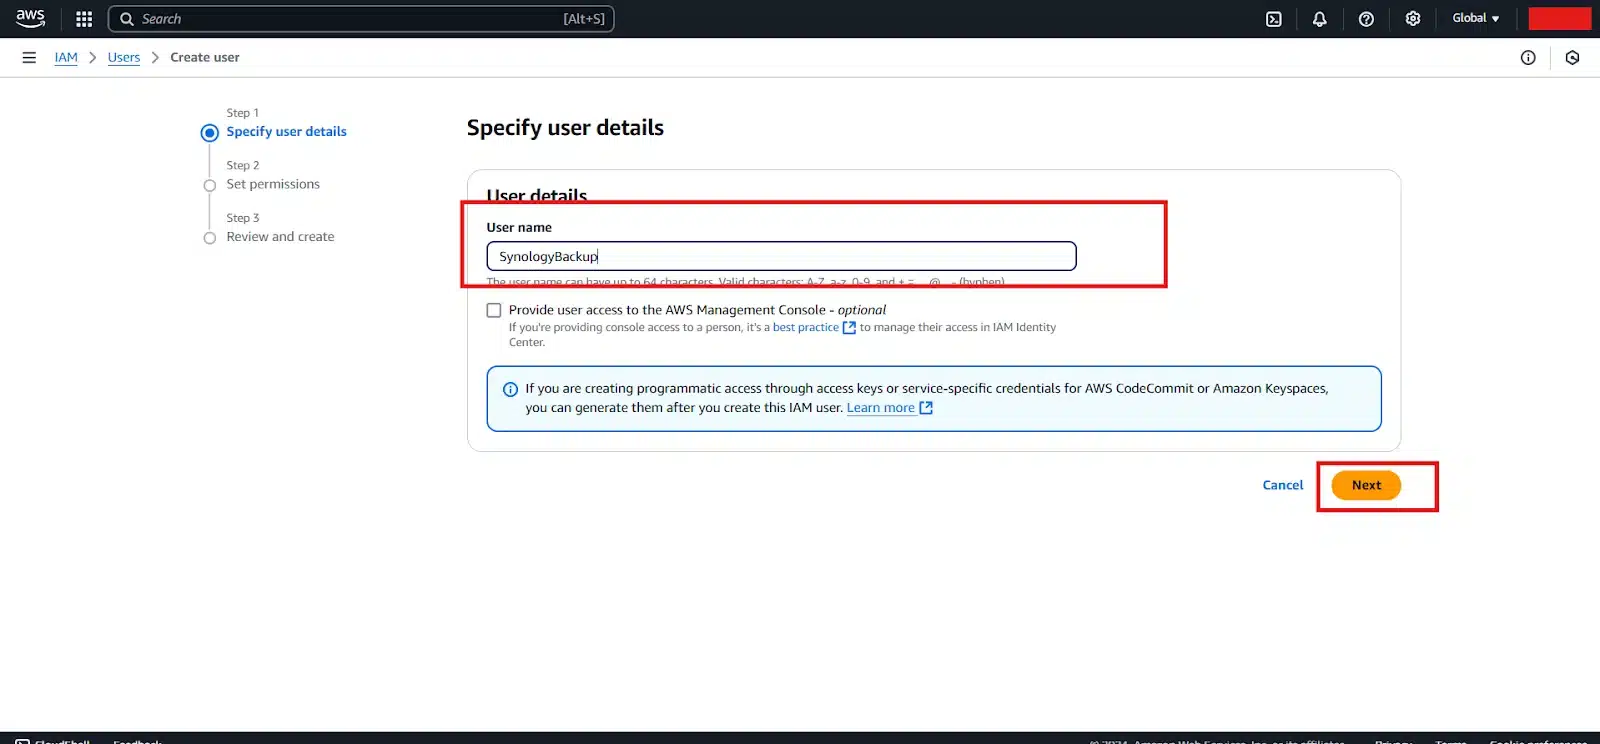
Enter the username you’d like to be for the user, it’s better for the username to indicate the purpose behind it.
You can leave the option “Provide user access to the AWS Management Console” Unchecked.
Then click “Next”:
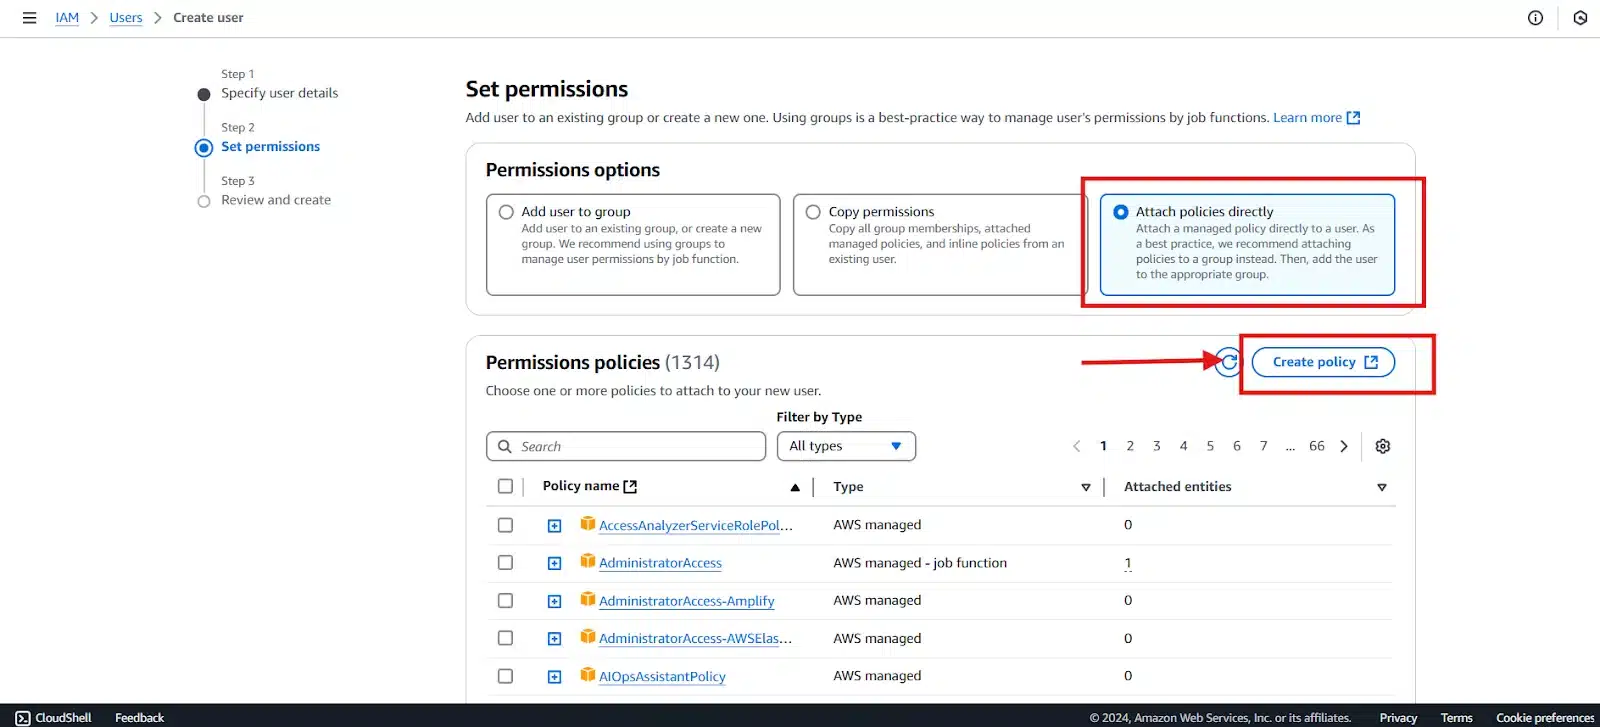
Step – 3 – Attach the Right Permissions:
For the Permissions, We’ll attach a policy directly and I will create a custom policy to give it the least amount of permissions needed.
If you have multiple users with the same permissions, it’s better to make a User group and attach the policy to the group, then add the user to this group.
The following Permissions are necessary for Synology NAS to Backup to Your Bucket:
– Read/Write Permissions on all the object inside Your S3 Bucket
– List Permissions to List all the object inside your S3 Bucket
– Permissions to List all the S3 Buckets associated with IAM User
– Permissions to Get S3 Bucket Region (Location) to be able to communicate with S3 Bucket though S3 Endpoint
The final policy should look like this:
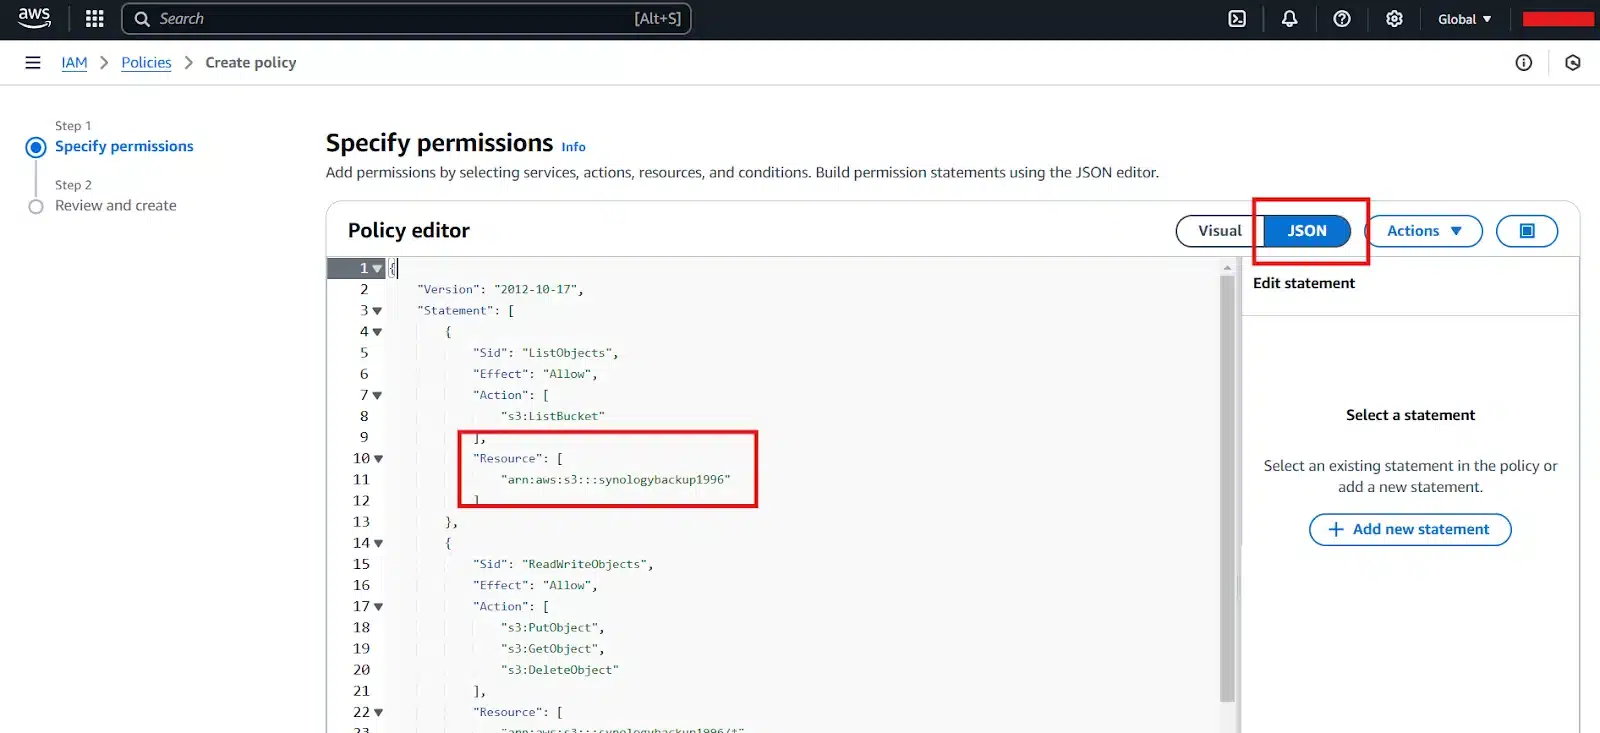
| { “Version”: “2012-10-17”, “Statement”: [ { “Sid”: “ListObjects”, “Effect”: “Allow”, “Action”: [ “s3:ListBucket” ], “Resource”: [ “arn:aws:s3:::{Bucket Name}” ] }, { “Sid”: “ReadWriteObjects”, “Effect”: “Allow”, “Action”: [ “s3:PutObject”, “s3:GetObject”, “s3:DeleteObject” ], “Resource”: [ “arn:aws:s3:::{Bucket Name}/*” ] }, { “Sid”: “ListAndGetBucketsLocations”, “Effect”: “Allow”, “Action”: [ “s3:ListAllMyBuckets”, “s3:GetBucketLocation” ], “Resource”: [ “*” ] } ] } |
Copy the above policy and change {Bucket Name} to the name of the Backup Bucket, then paste it into the policy editor as JSON format:
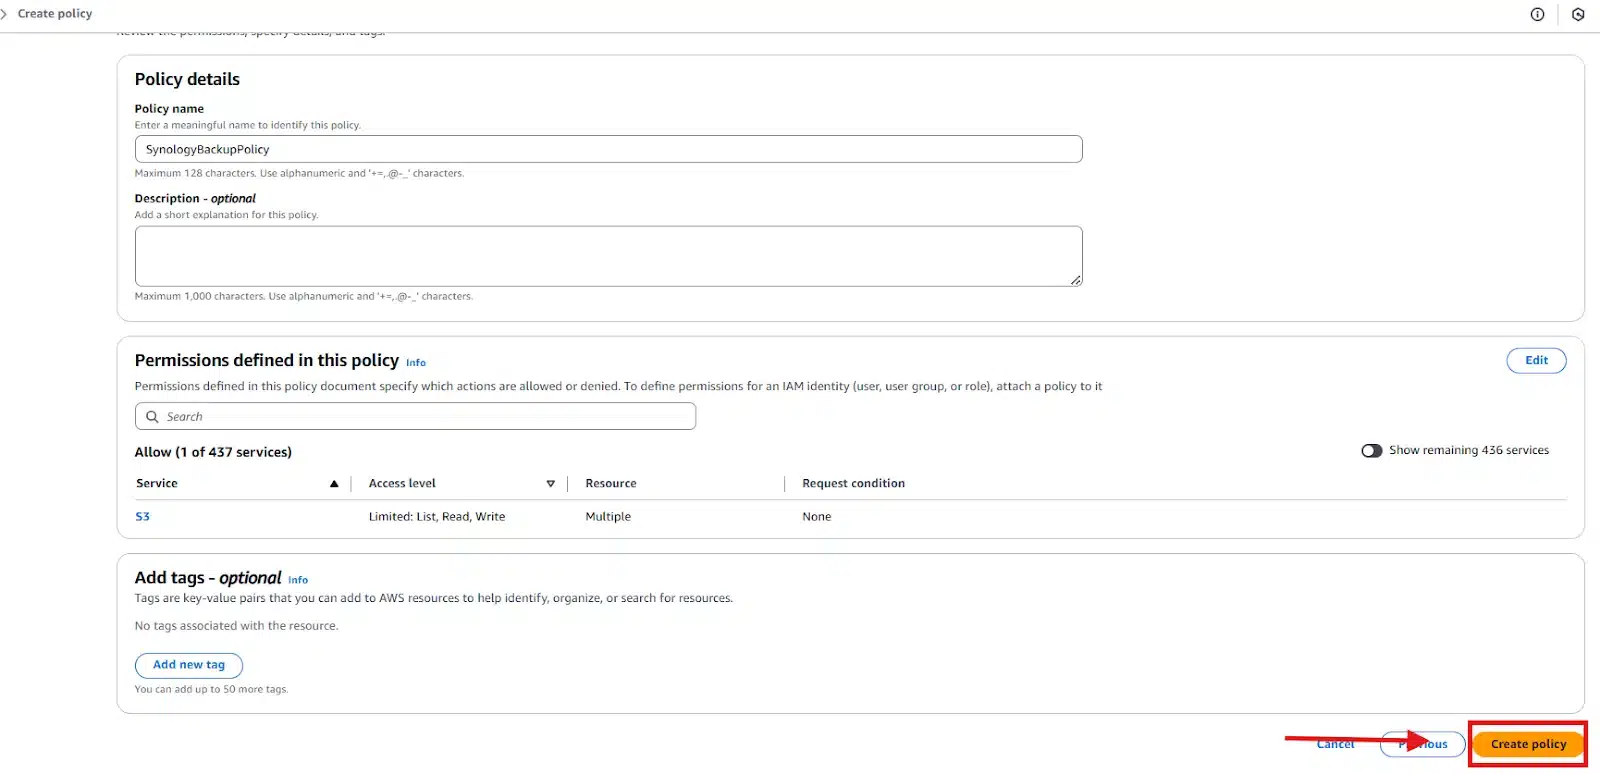
Next, give the policy a name and click on “Create Policy”:
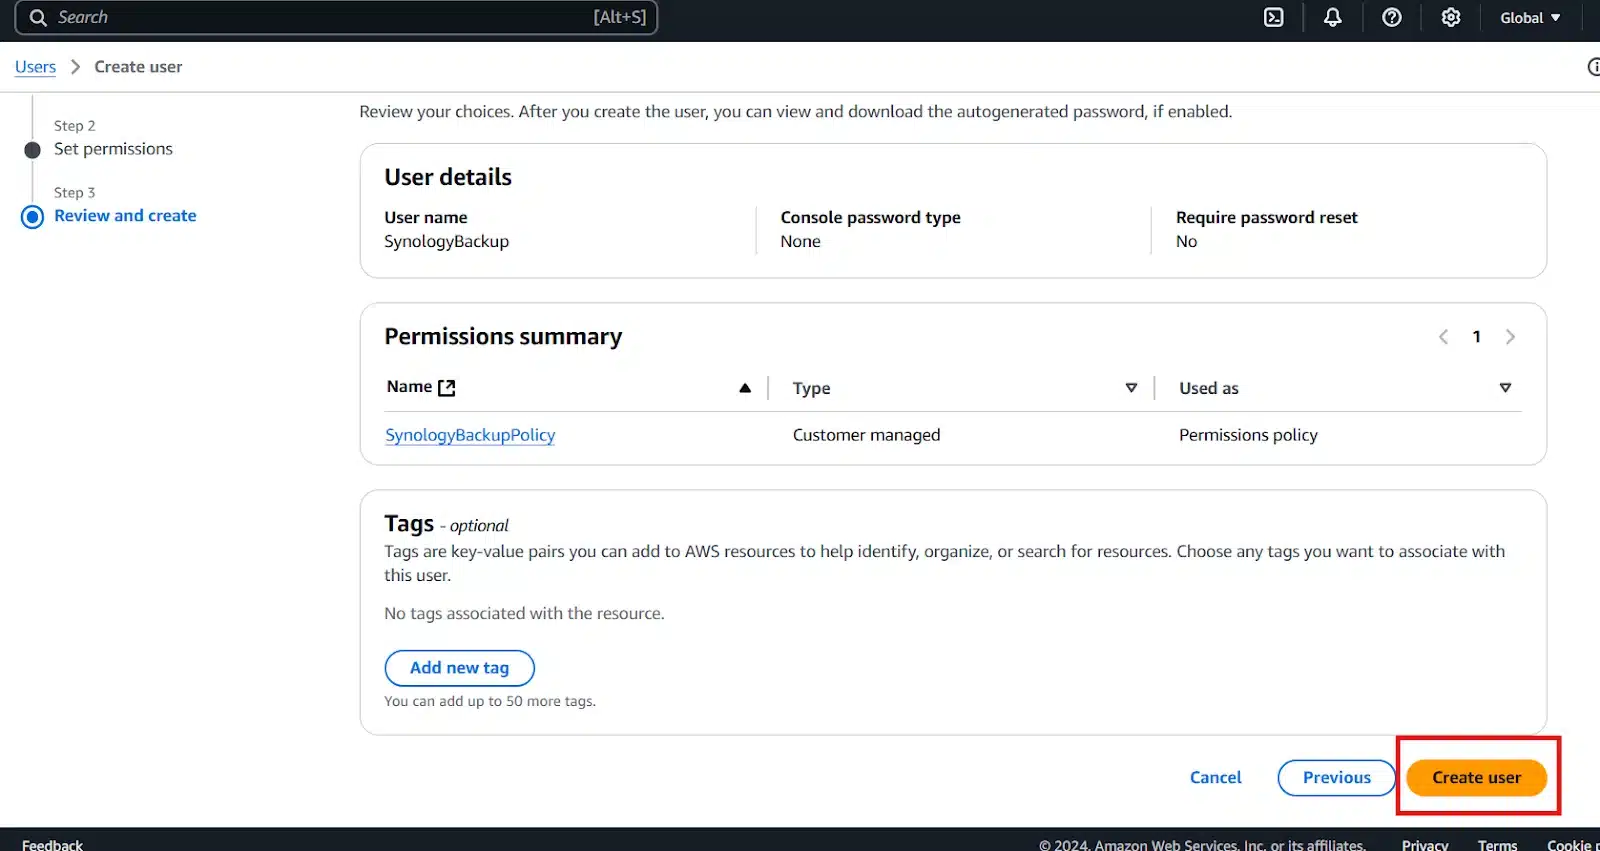
On the IAM Page, search for the policy and check it, then click “Next”:

Then, click on “Create User”:
Step – 4 – Create Access Key for the IAM User:
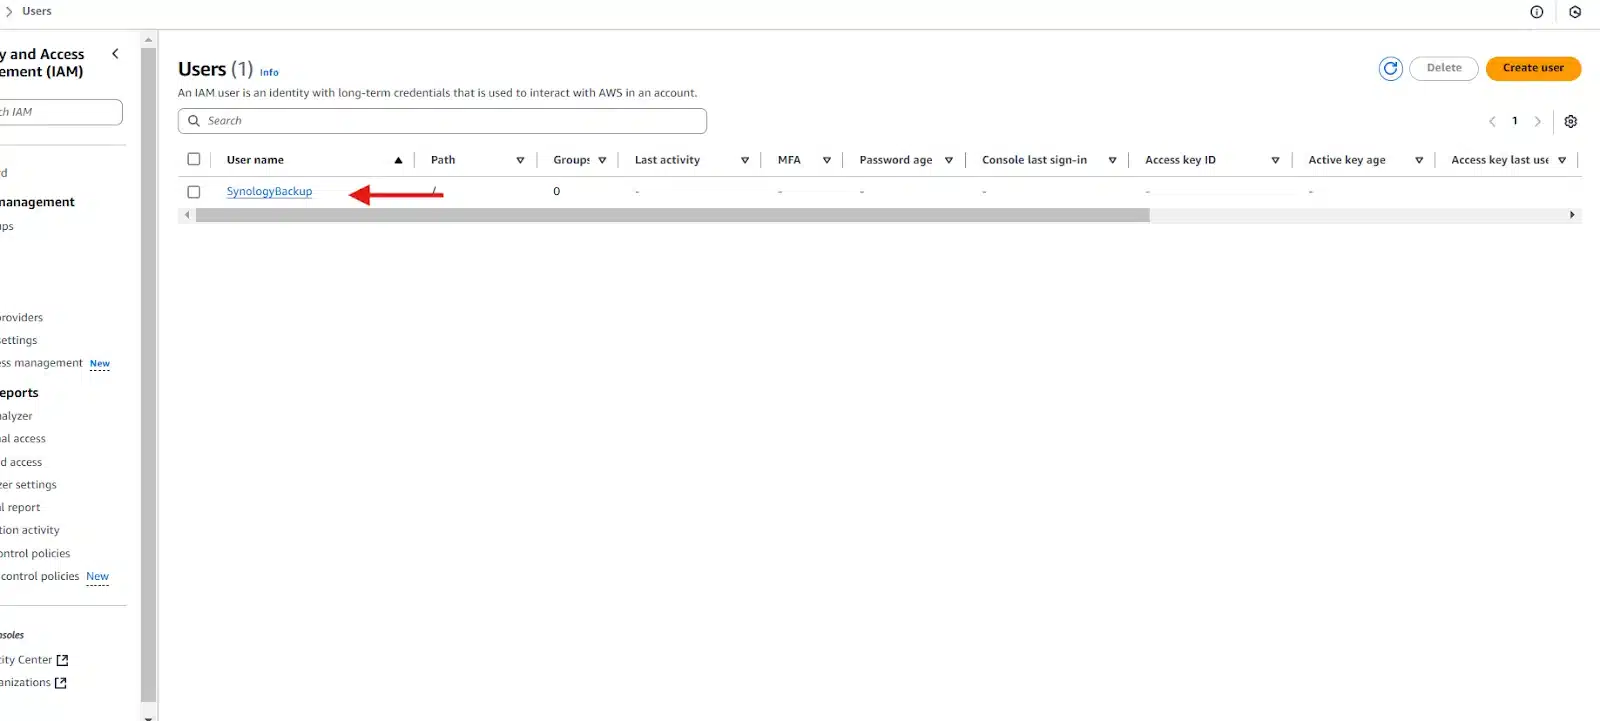
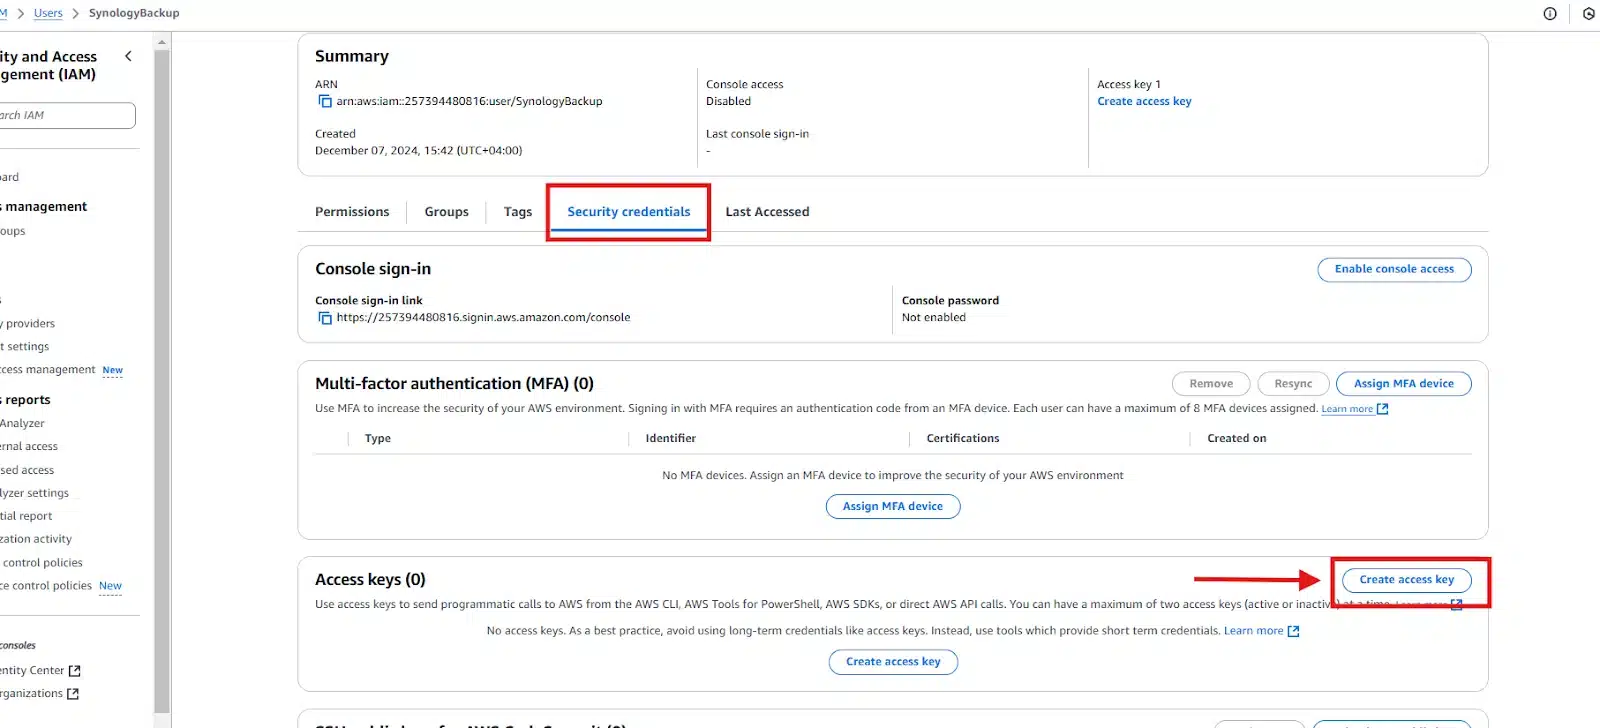
On the Users List in IAM Console, Click on the User you just created:
Open the “Security Credentials” tab then scroll down to Access keys.
Then click on “Create access key”:
Here, choose “Third-party service”, and check the option “I Understand the above recommendation and want to create an access key”:
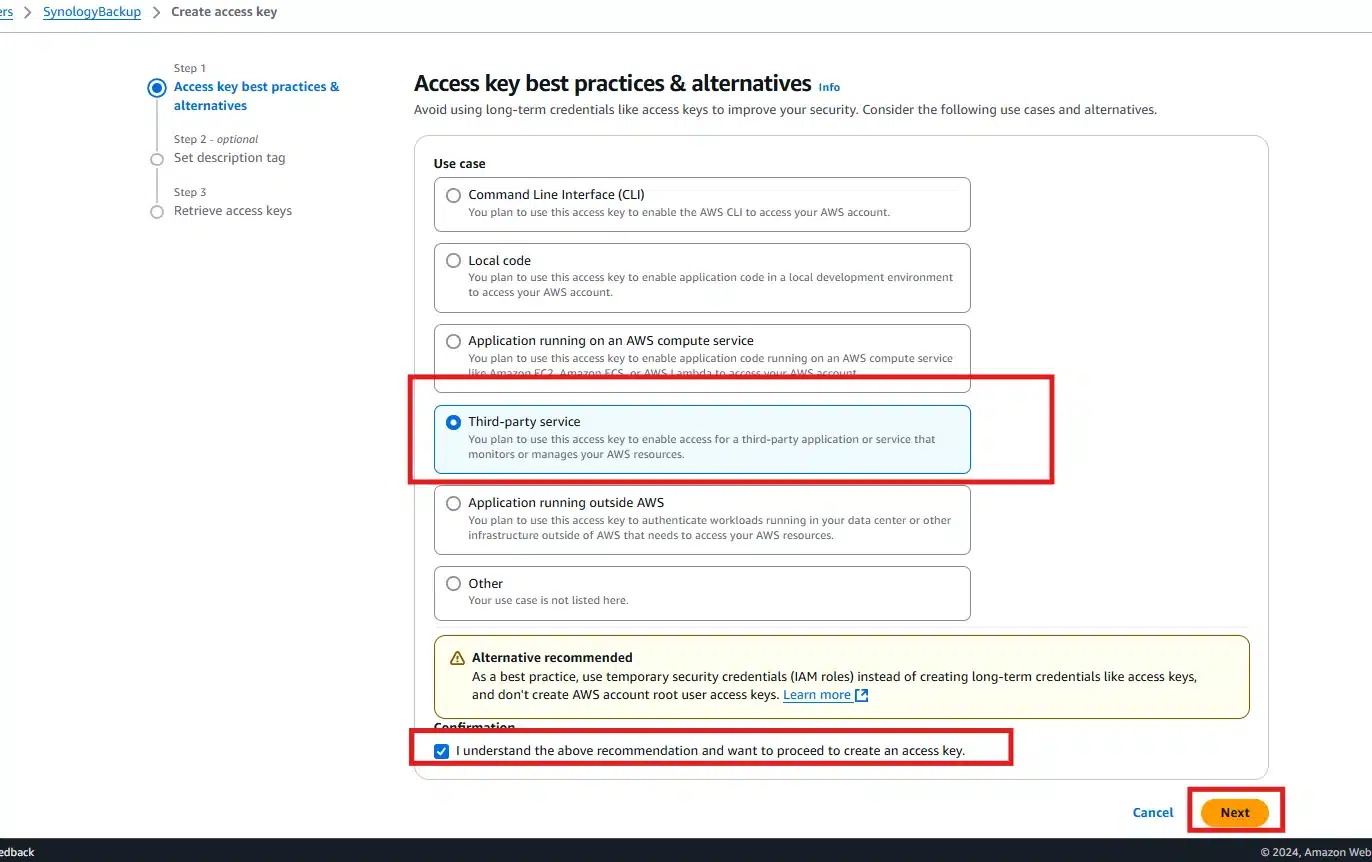
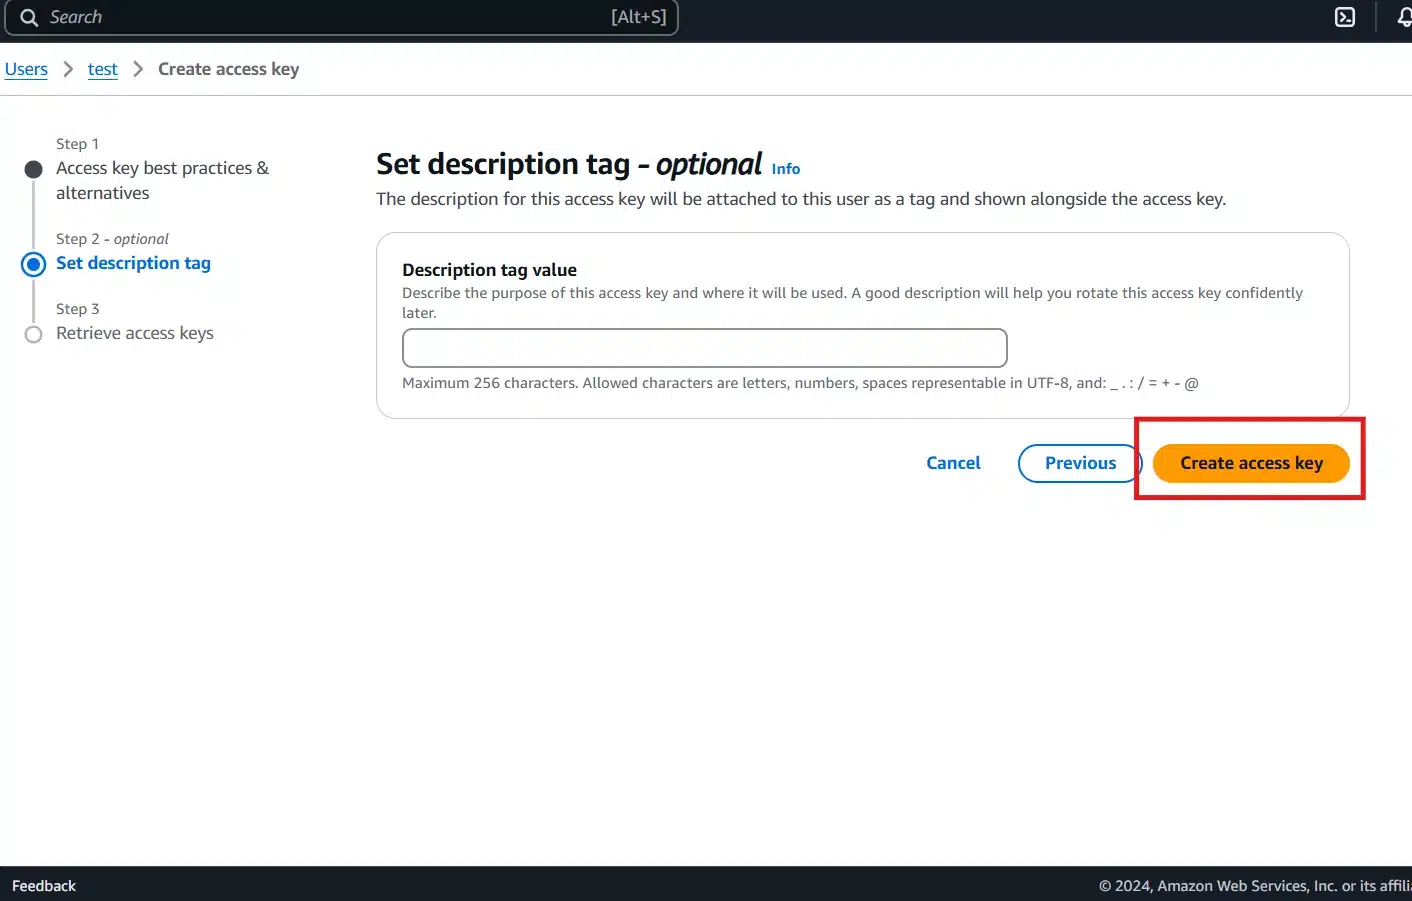
Then, click on “Create access key”:
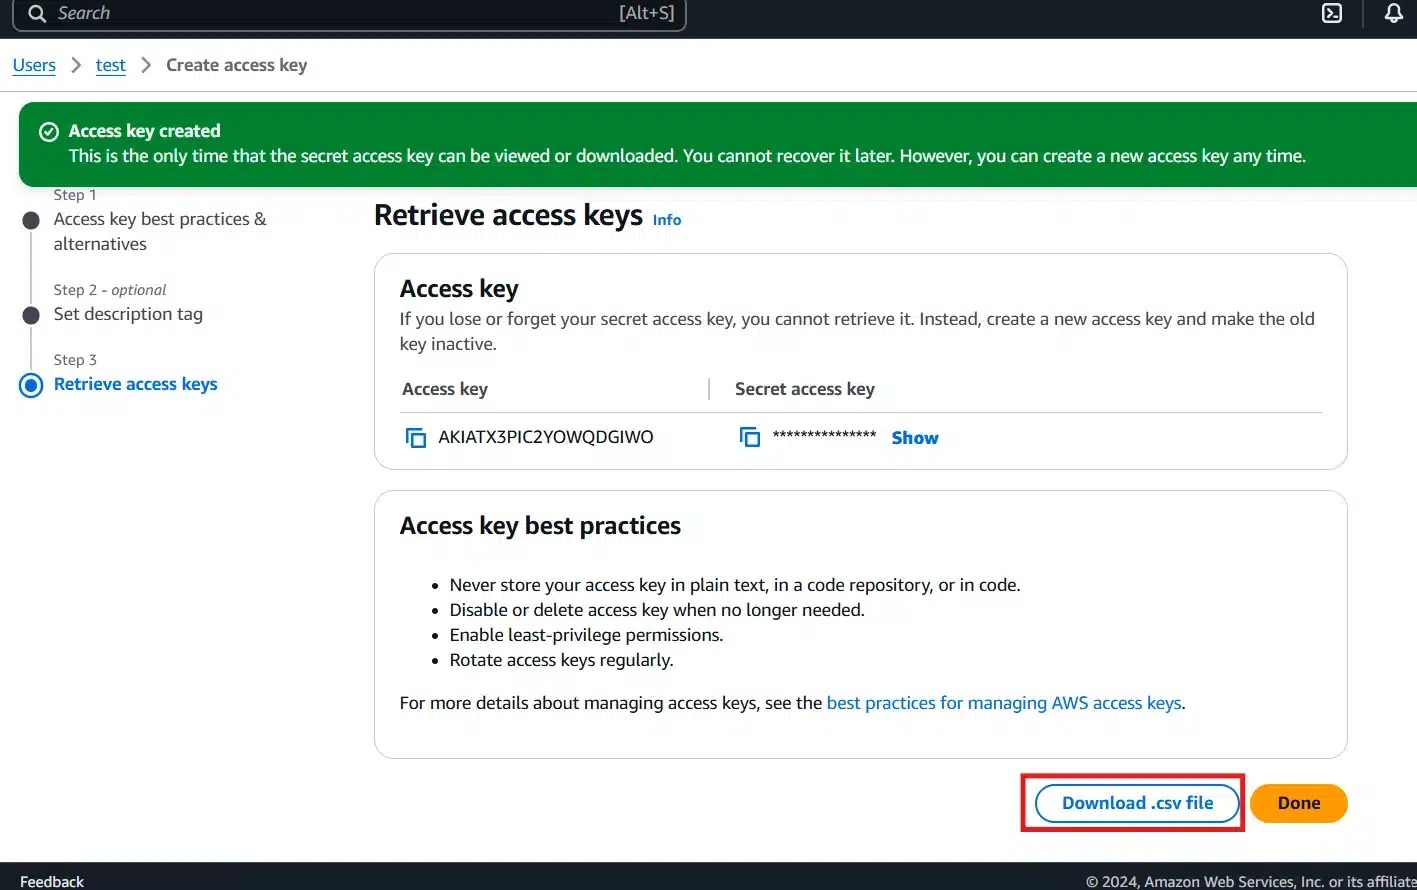
After the access key is created, download the key as csv file and save it to use it later:
Step – 5 – Create ab Backup Job with Hyper Backup on your Synology NAS:
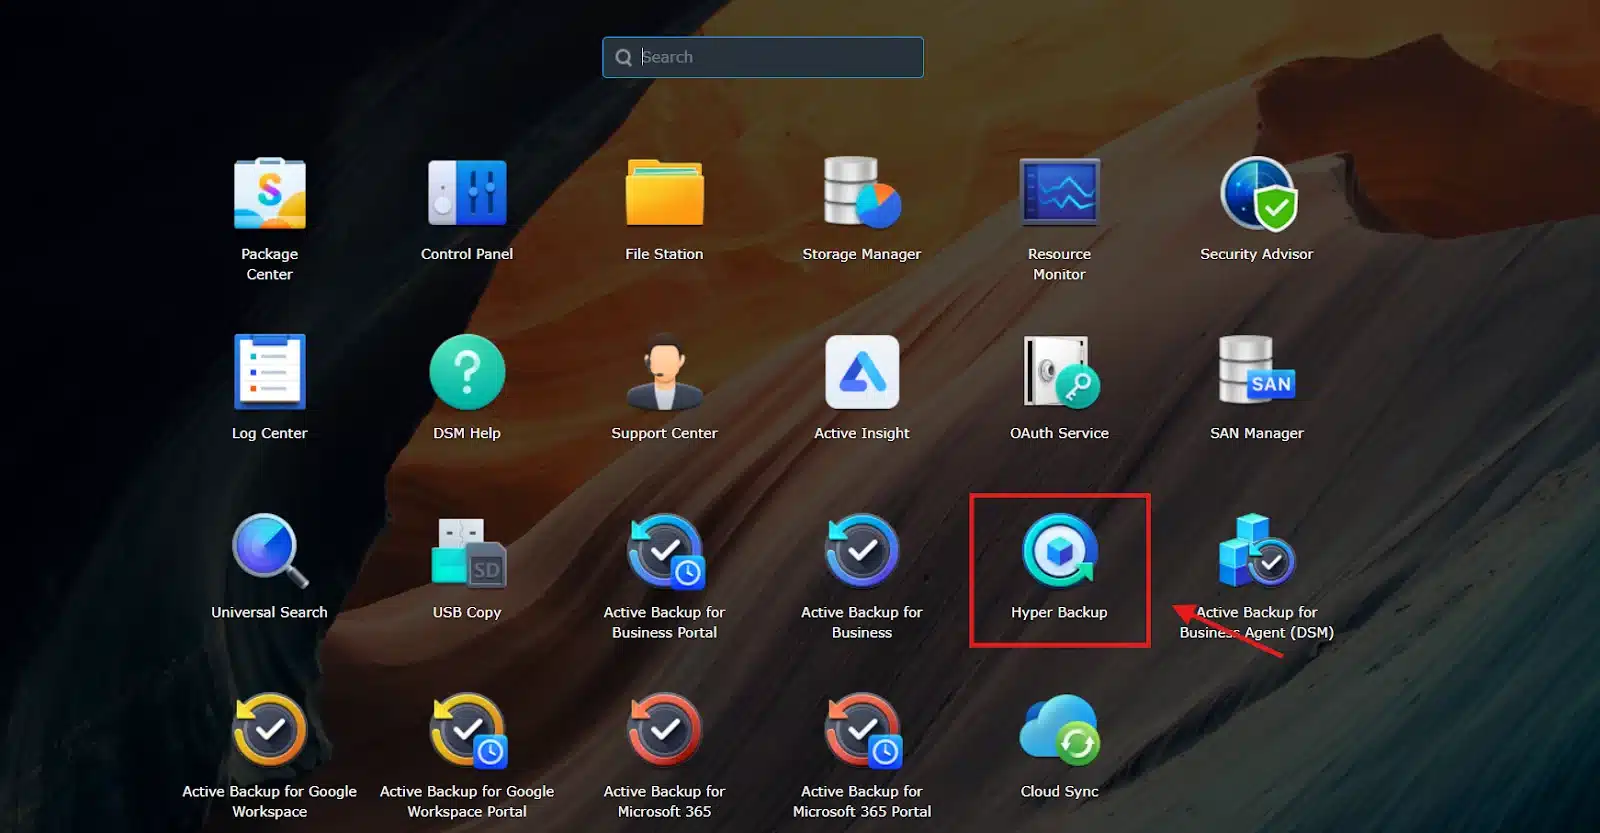
On you Synology Web Management Portal, Open Hyper Backup Application:
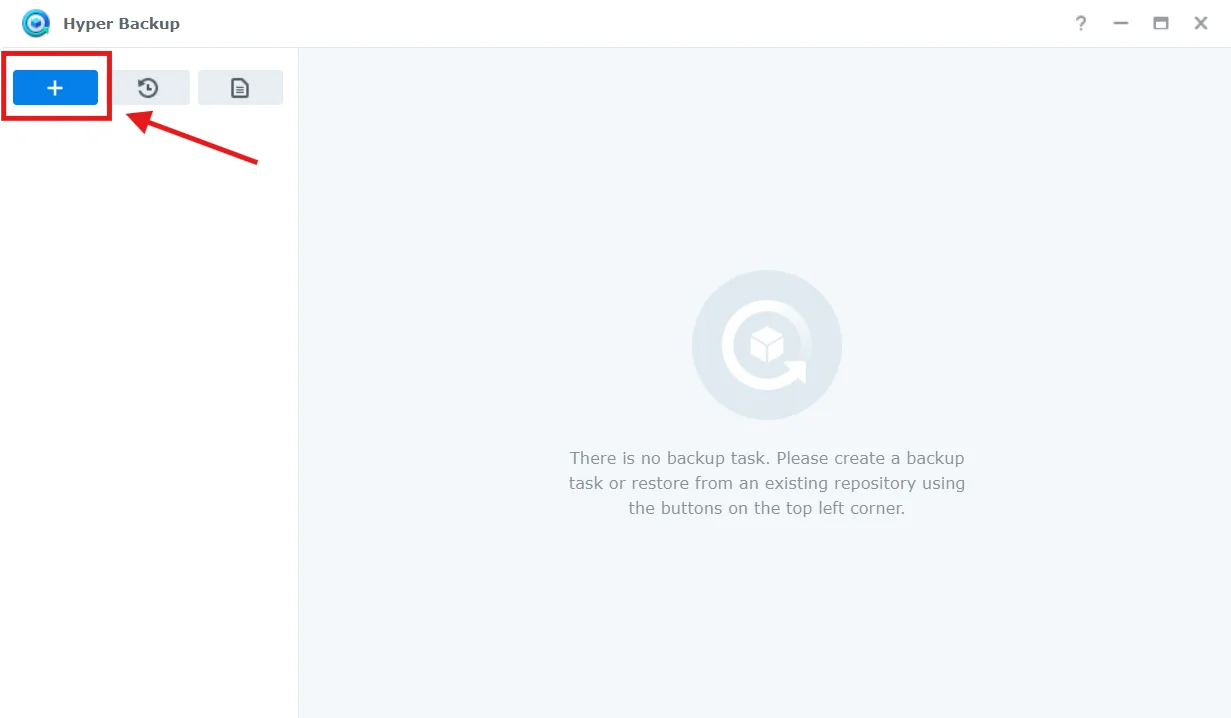
Click on add button to create a new Backup Job:
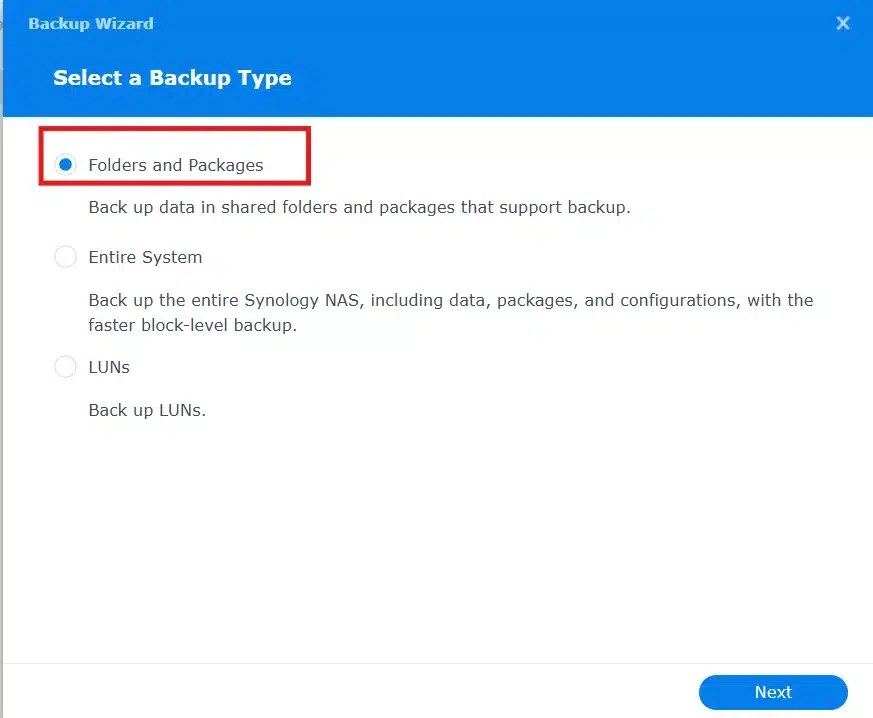
Choose “Folder and Packages”, then click “Next”:
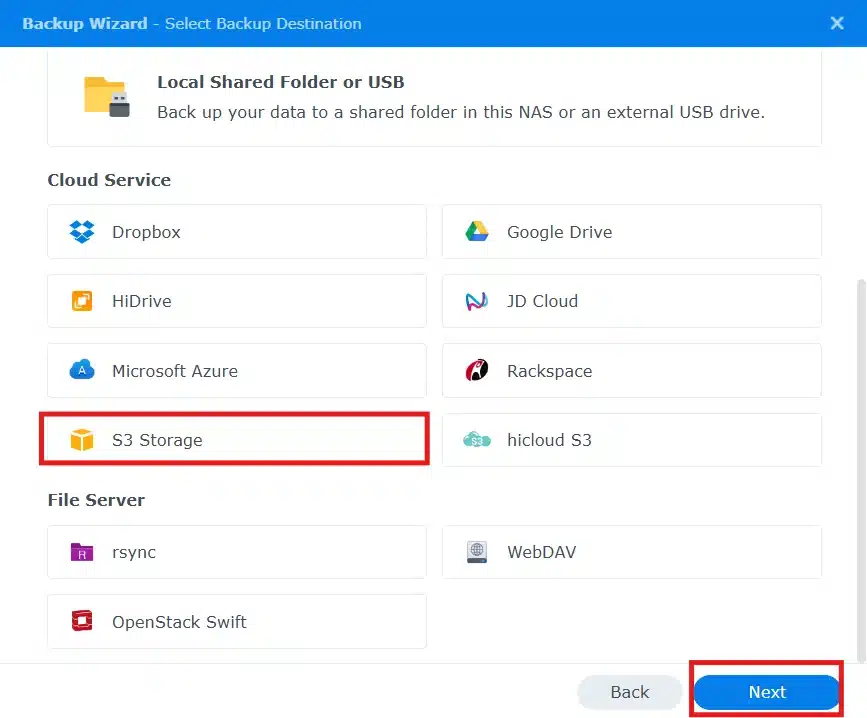
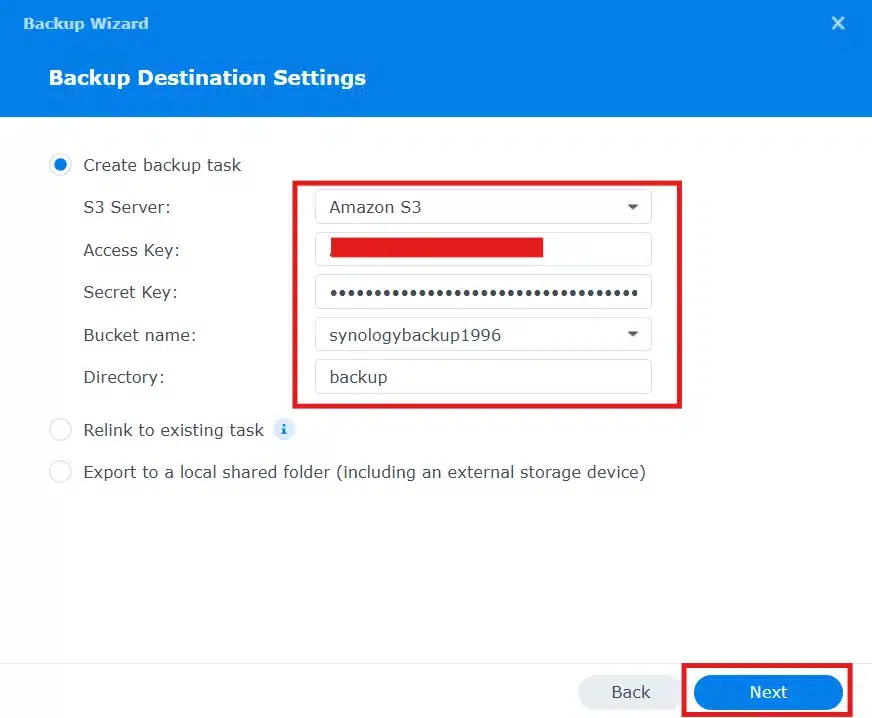
Scroll down and choose “S3 Storage” for the destination:
Next, enter the access key and the secret key from the csv file downloaded in the previous step.
Then choose your bucket from the drop down menu and the directory you’d like to save the backup in:
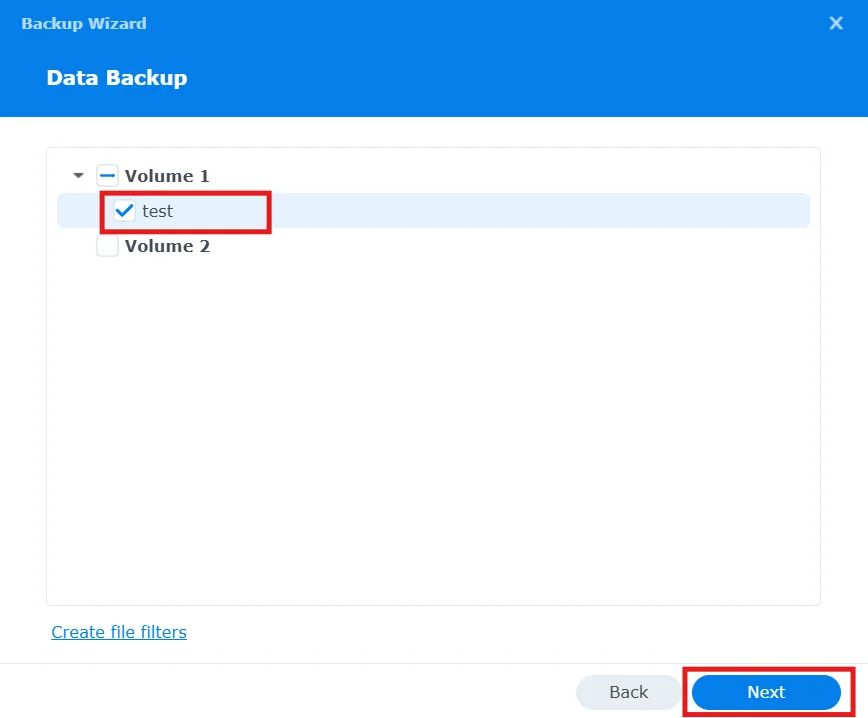
Next, choose the Shared Folders or Volumes you want to Backup:
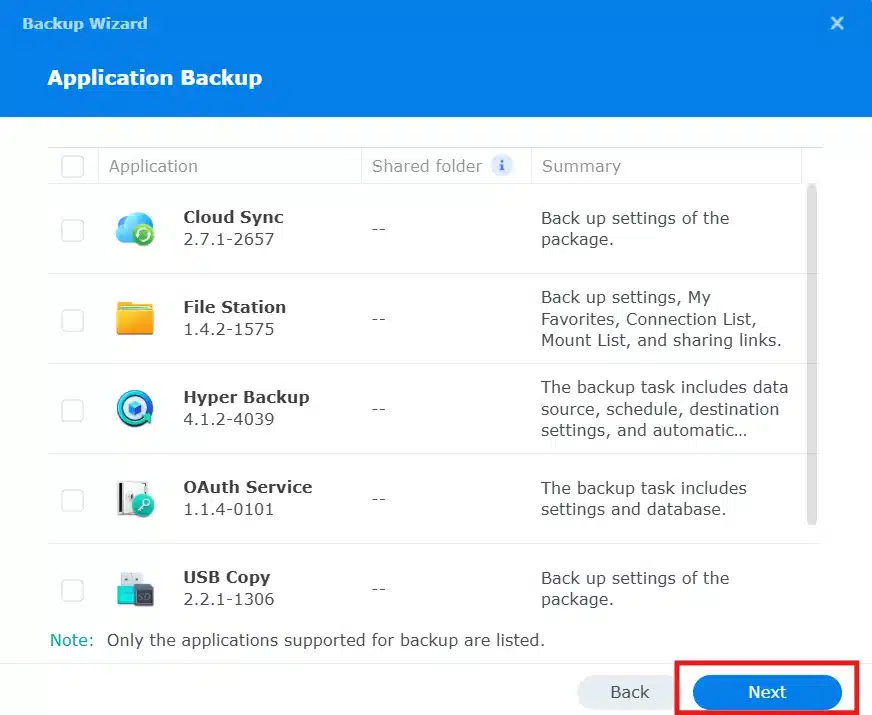
If you’d like to backup an application, you can choose here (If the applications supports it ):
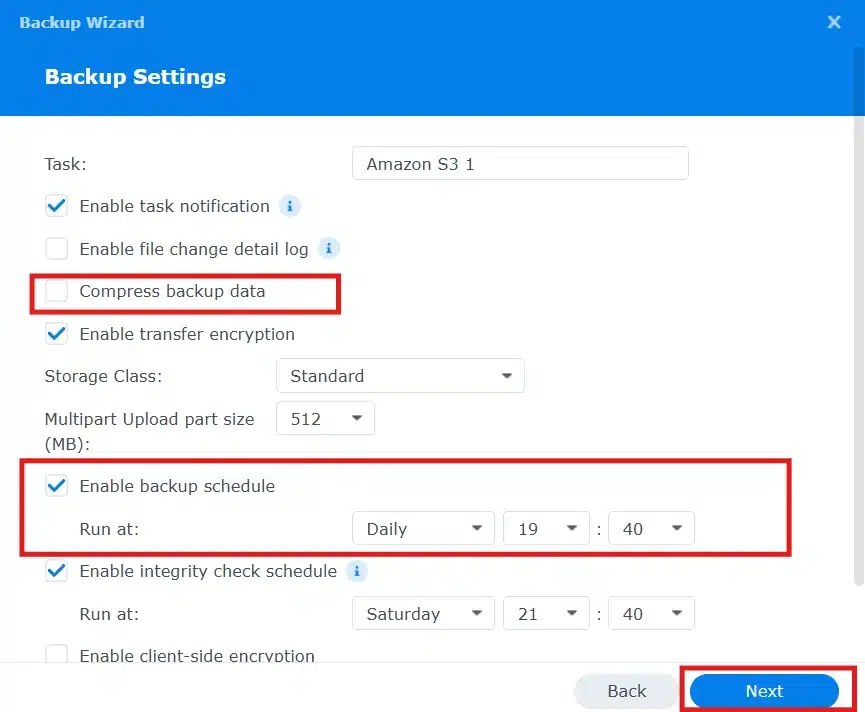
Here, enable transfer encryption, and choose the Storage Class you want to backup Your Data On:
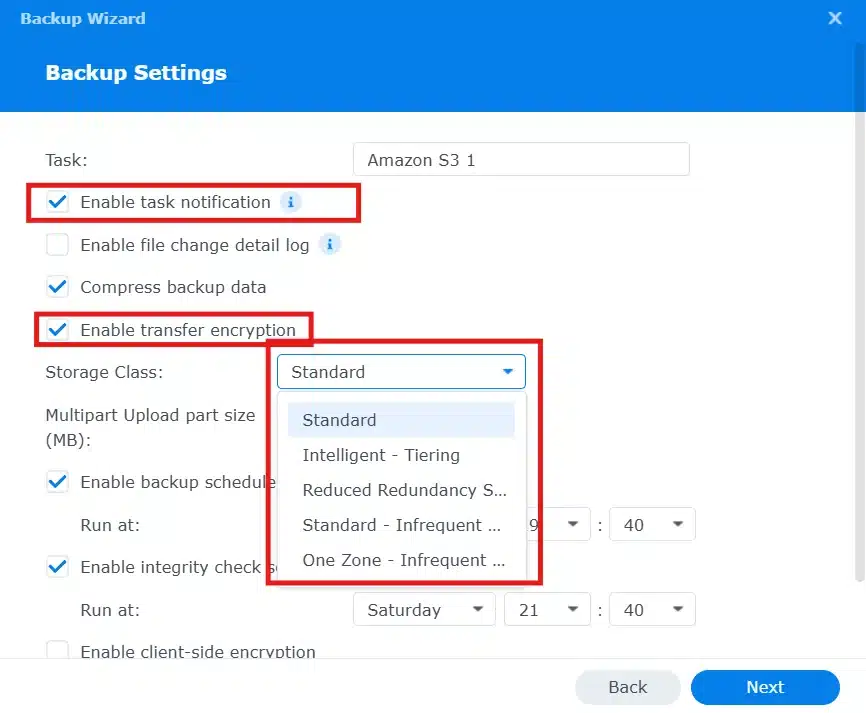
Also, Choose your Backup Schedule as you wish.
I will Uncheck Compress Backup Data, as it’s just test data, ideally, it’s better to compress the data for save storage cost on S3:
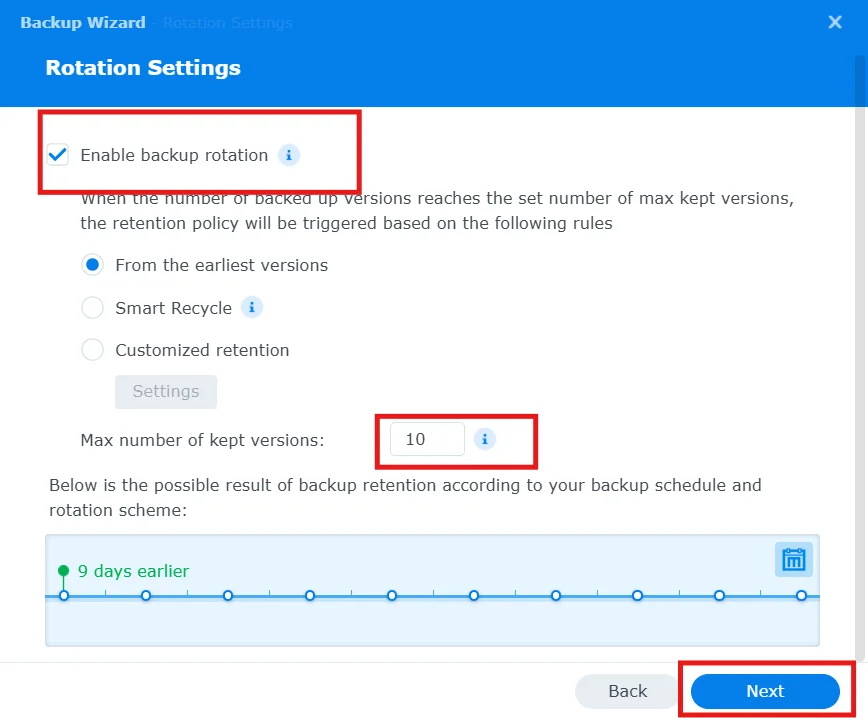
Nexty, Choose the Backup Rotation ( How Many Copies or versions of Your Backup You want to Keep):
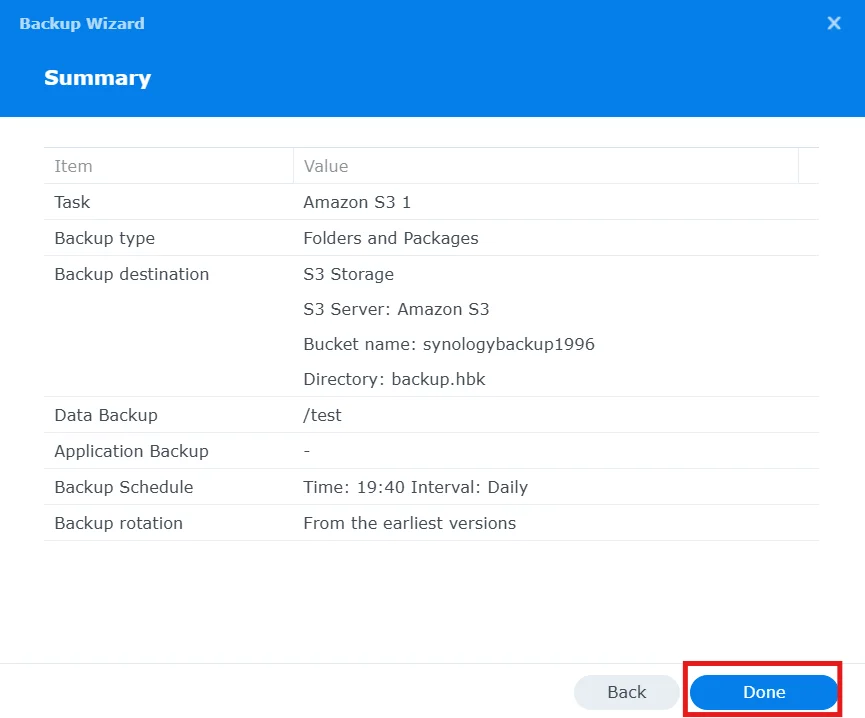
Review your configurations and click “Done”:
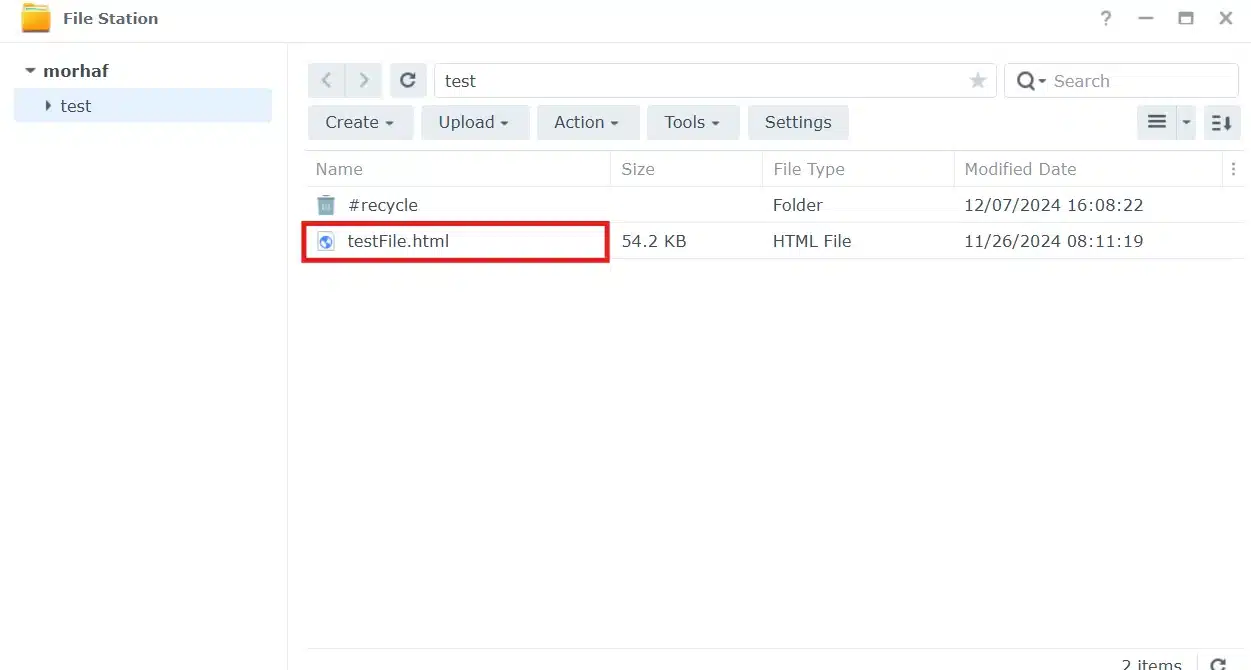
Step – 6 – Test and Verify:
Here I have the Shared Folder “test”, contains “testFile.html”:
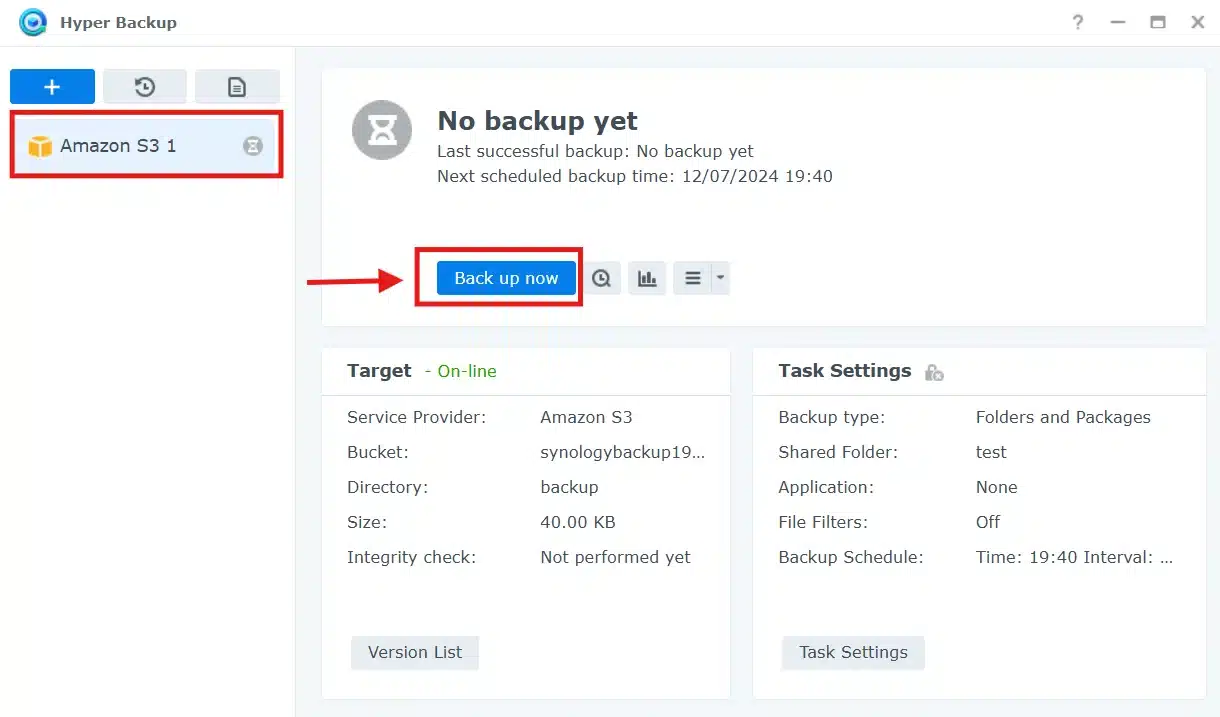
On the Hyper Backup App, open the Backup Job you created, and Click on “Back up now” Button:
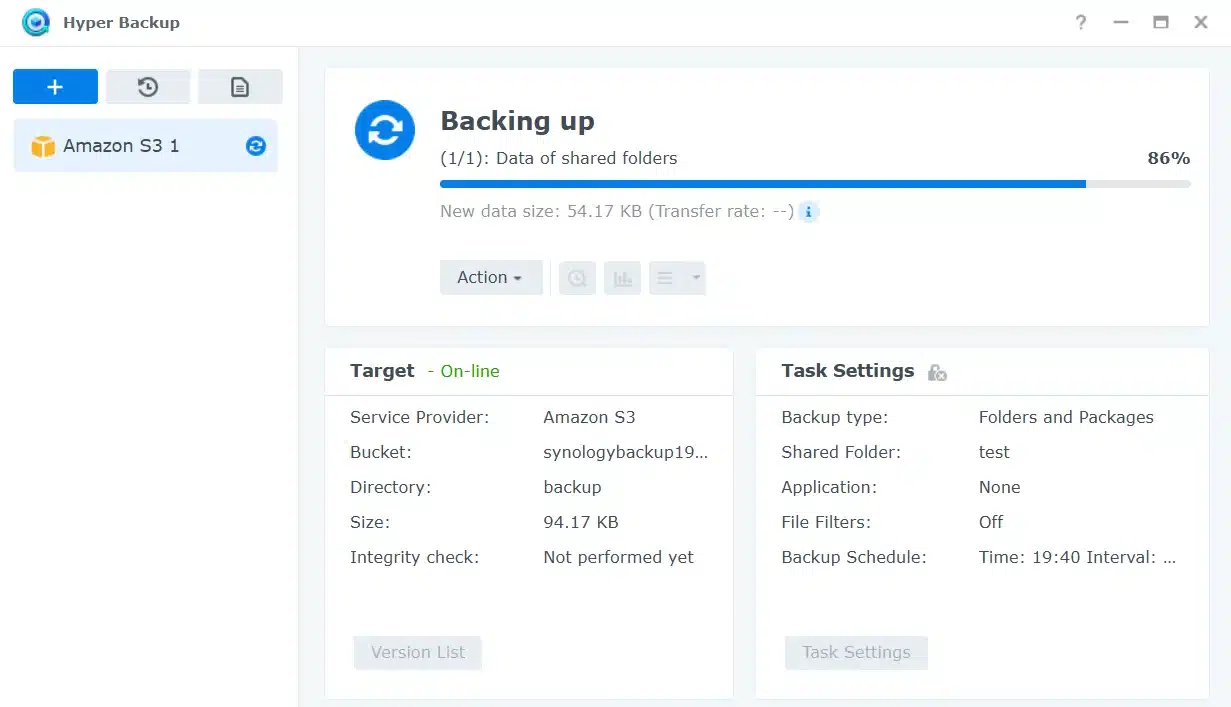
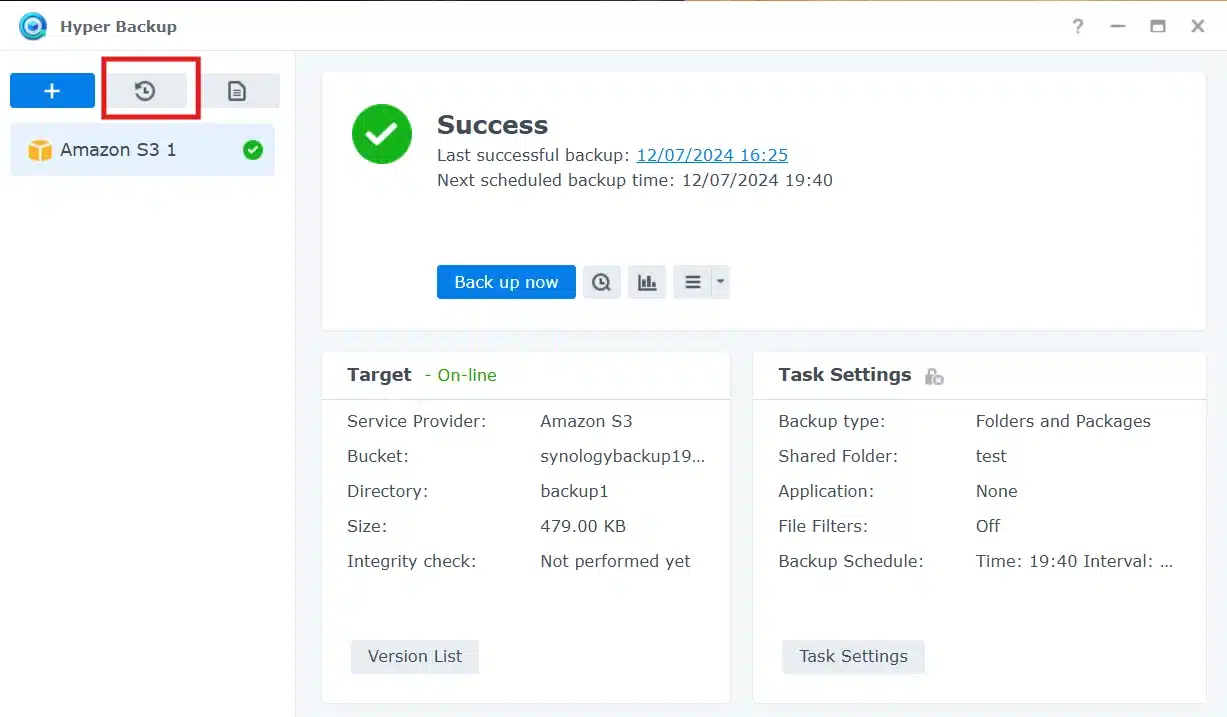
Check the progress of your backup:
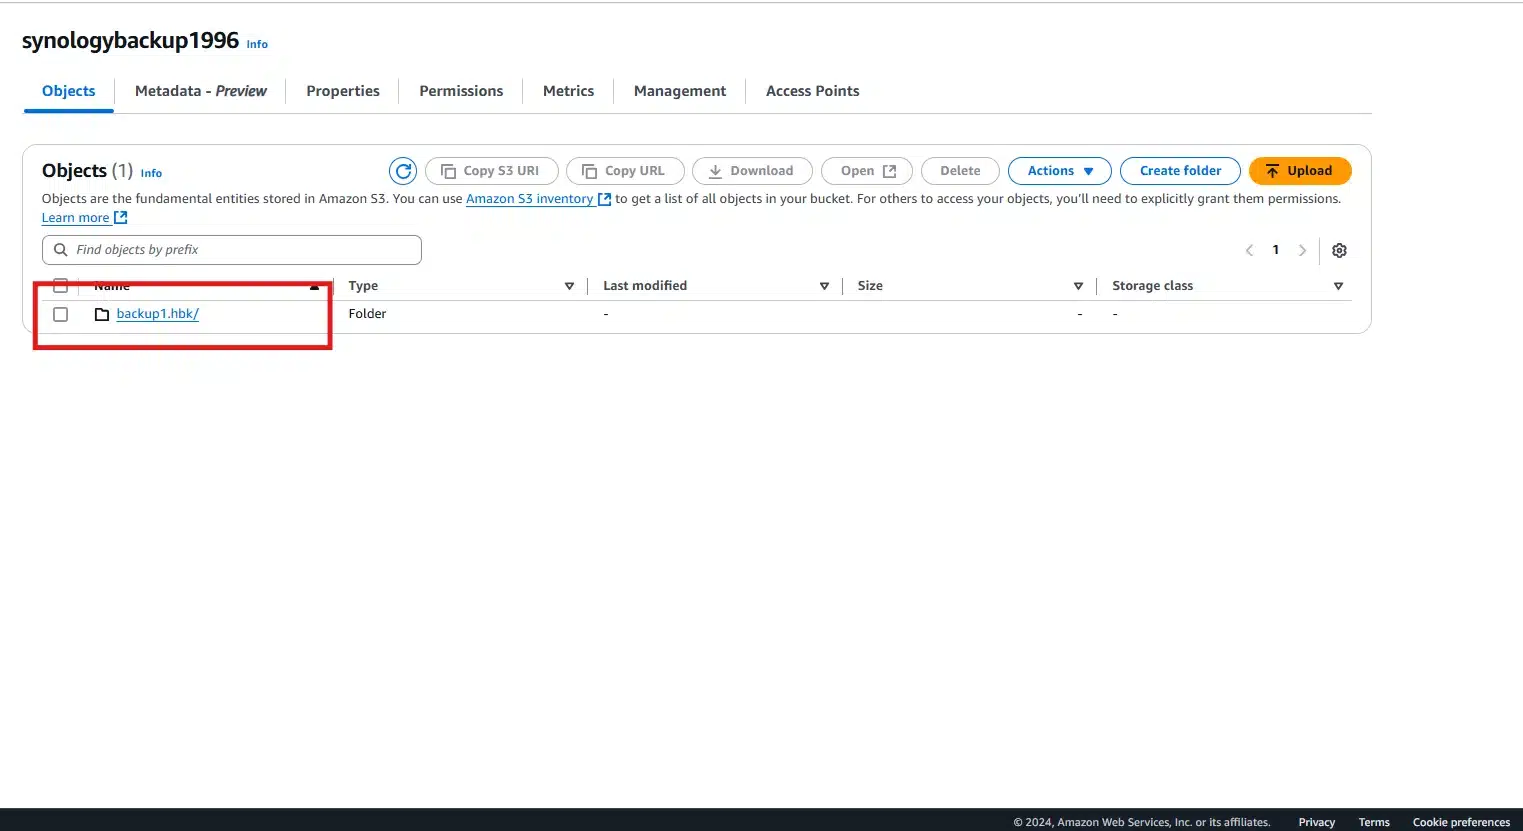
Once the Backup is successful, Open your S3 Bucket and you will see a directory with .hbk extension, this is where your files and system configurations backups are stored:
Step – 7 – Restore Backup from AWS S3 to Synology NAS:
Open the Hyper Backup application, then click on the restore button as below:
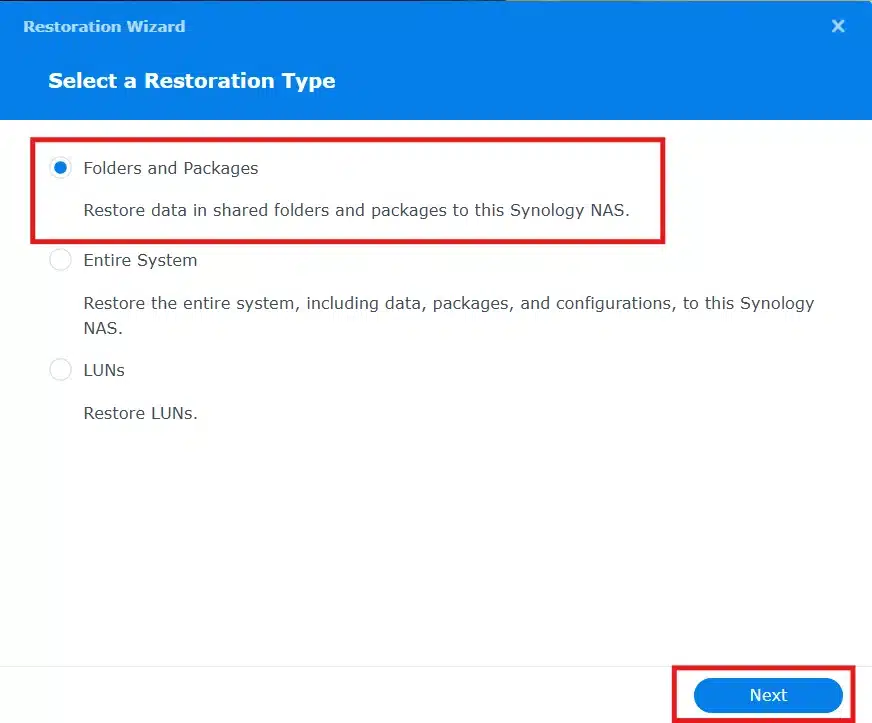
Choose “Folder and Packages”, then click “Next”:
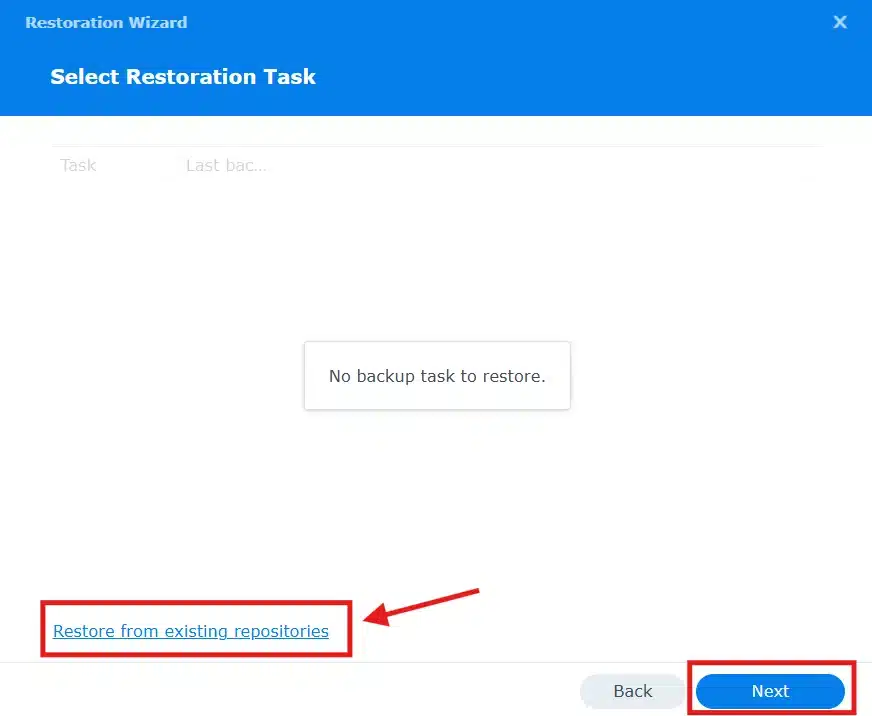
If this is a new Synology NAS, or you don’t have a Backup Job Created yet, choose “Restore from existing repositories”:
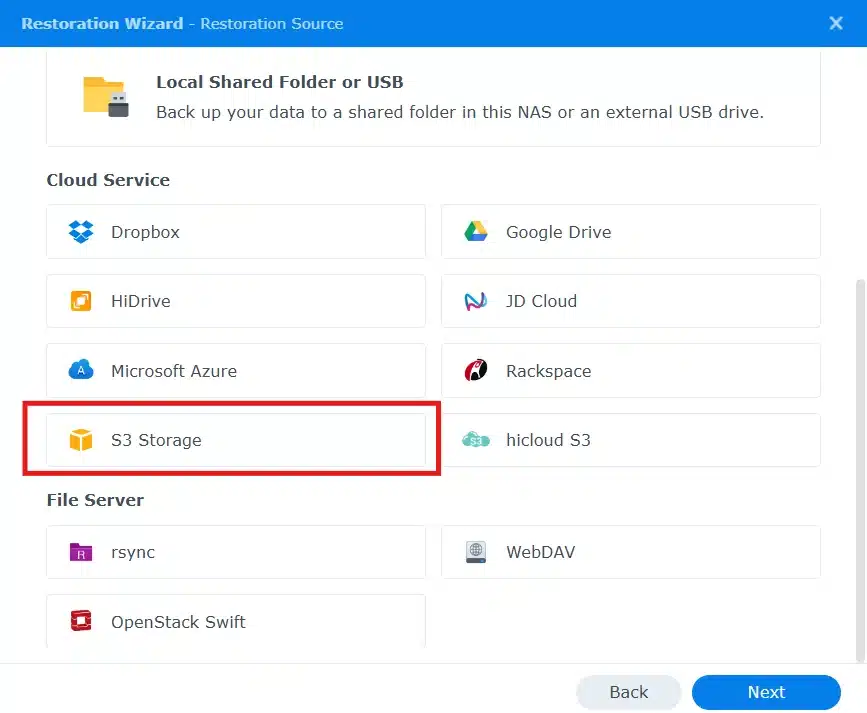
Choose “S3 Storage”:
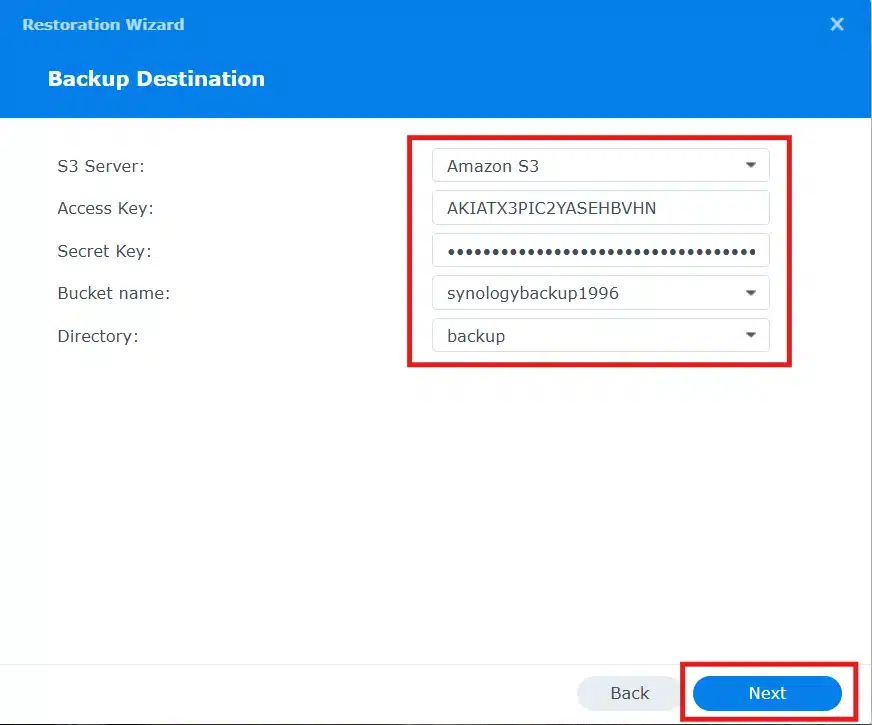
Here, enter your Access key and Secret Key, then choose your Bucket and the Directory in which the Backup is Stored:
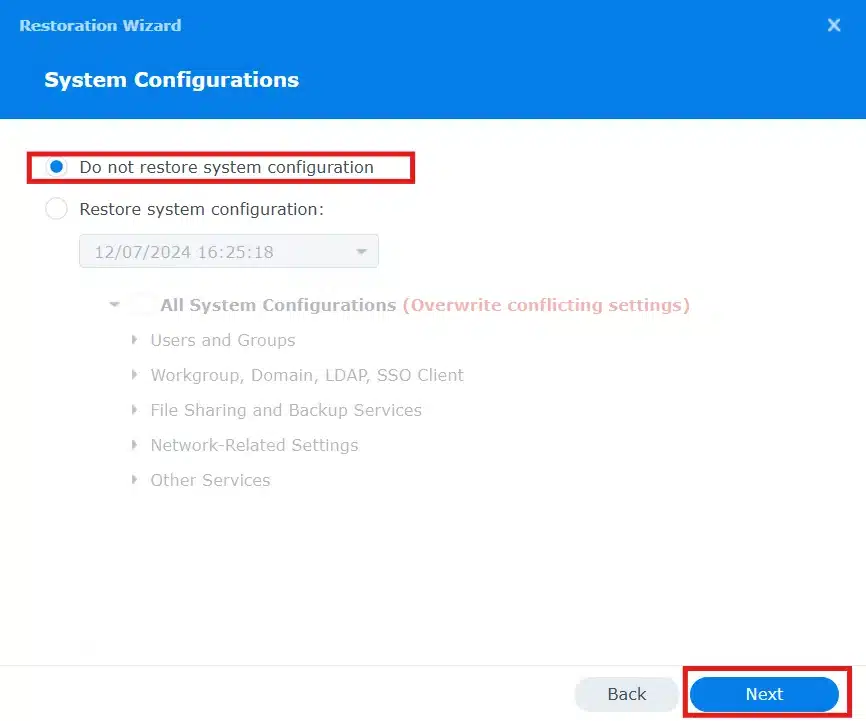
If you don’t wish to restore the system configurations stored on S3, Choose “Do not restore system configuration”:
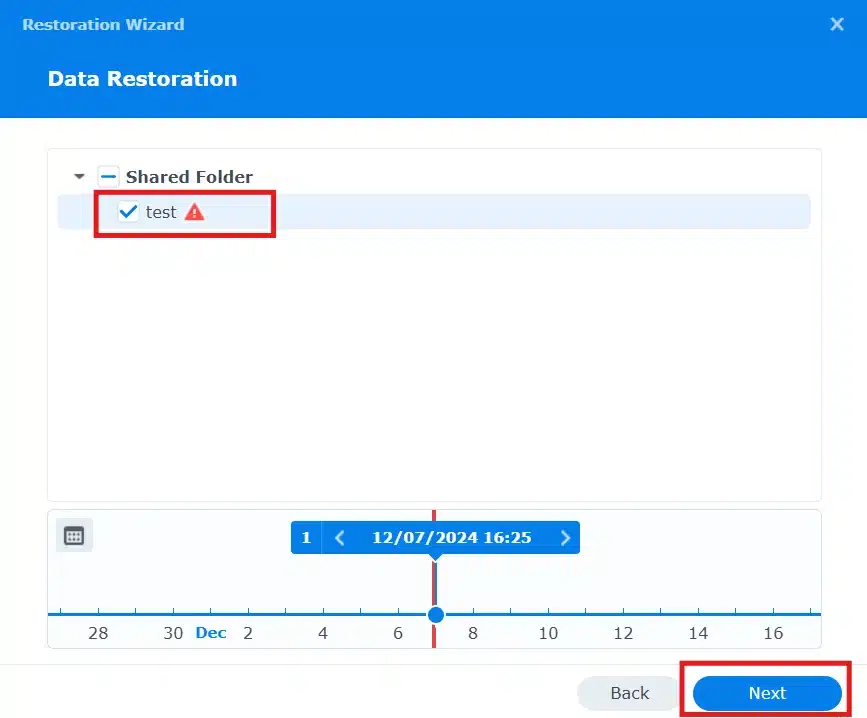
Choose which shared folder or volume you want to restore:
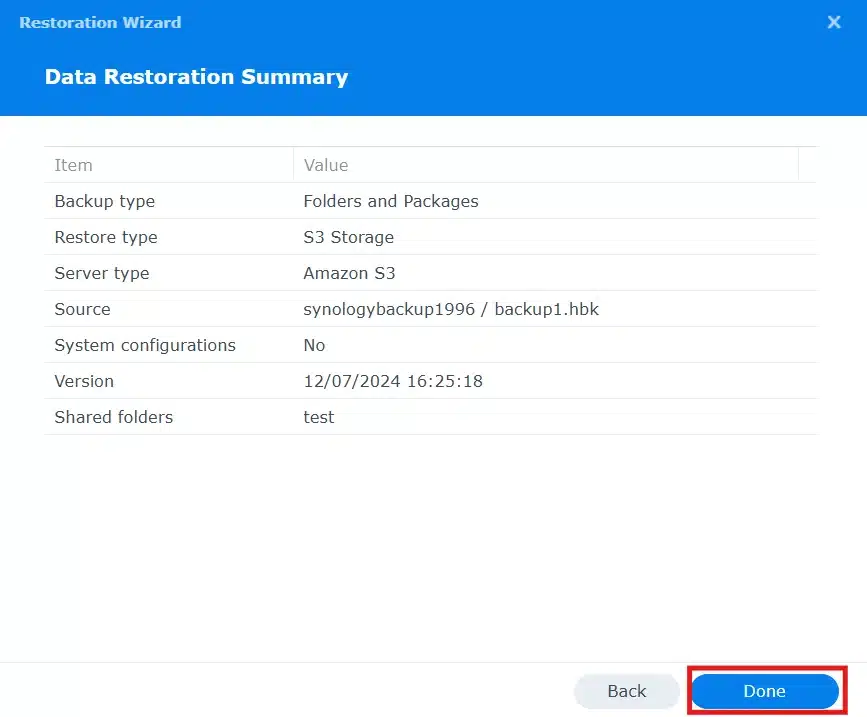
Review and click on “Done”:
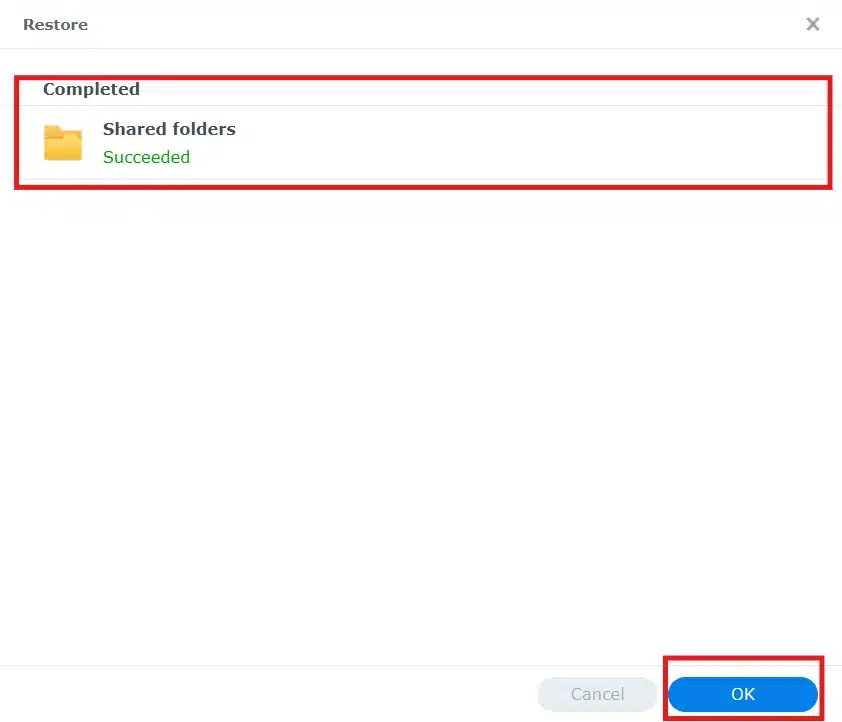
Once the restoration is showing “Completed”, you will find your restored file and folder in your File Station on Your Synology NAS:
Conclusion:
Backing up your Data on your NAS is important, whether you have Qnap or Synology, or whatever storage solution you use, Amazon S3 is still one of the best cloud storage solutions out there, especially for backup as it provides several storage classes, depending on the frequency of accessing these data or the availability required for it.
However, with the Hyper Backup solution provided by Synology, you can schedule your backup and minimize the overhead of maintaining the backup.
But if you have your External Hard Drive, it’s not a bad idea to backup your data also to an external HDD.